


How to learn Corel design?
If youwant to createg different graphic designs, you should use the free Corel tutorial. Nowadays, the use of computer technologies iswidespreadn in various industries. This software should be used for different designs today. Corel gives youexcellentt capabilities in your field of work. You should pay special attention to this software in 2022 to achieve the necessary success. In the rest of this article, we will discuss how to use this software in general, as well as the introduction of Corel. If you are interested in doing this,stayingy with us in this articl is bettere.
Why Corel software?
At the beginning of the free Corel training article, we are trying to familiarize you with this powerful software in general. As mentioned, Corel software is powerful and can give you tremendous power in this area. Currently, Corel has more than 100 million active users and is used all over the world.Workingg with this software can beprettye profitable for you. The reason for this is the extraordinary power of Corel. Corel software is used in more than 75 major countries of the world. This software helps you visualize your ideas.
If you wantto learn this software fullye, you cannot find all the related content in this article.Itt is better to prepare a training vide to learn and use this software bettero. Faradars is one of thepracticale educational resources that you can use to learn different software.Usingg this complete educational resource can help youunderstandnothert topics as well as possible.
What is Corel?
CorelDraw is a software program for editing vector graphics. Vector graphics are created in graphics packages and consist of various objects. Each object can be edited individually, meaning the shape, color, size, and position can be changed. Developed by the Ottawa-based software company Corel, CorelDraw allows users to add special effects like borders to images,adjustg contrast, color balance, and more.
Using Corel, you can create amazing graphics that are very attractive. Corel can bring you great convenience in implementationando the power in design. If you are interested in 2D graphics, it is recommended that you get a free Corel tutorial.Korea’ss story
Cor was first introduced in 1998. Everyone knew that this software gives peoplean extraordinaryl power. With the first graphics software for the Windows® platform, Corel changedhowy people express and share ideas, and since then, users have turned their ideas into Corel products. During all these years, Korel has won many awards. These awards include graphics, paintings, photos, video,s and office software.Becauset Corel products are of high quality and can be used easily, this software has become extremely popular. It is very easy to learn this software if youcano work witha mouse and keyboard.
Corel also has an incredibly advanced user community that can help you in any area. What the Corel community does is share creativity an,d of cours,e artwork. In 2011, Corel Cares software was released. This software was very user-friendly and created variousexcitingg projects. Focusing on supporting children, educatio,n and the arts, Corel Cares drives the commitment and compassion of Corel’s global employees toward a common goal.
Corel installation tutorial
We have generally learned about this software from this part of the free Corel training article. Corel software provides users withbeautifull features that can helpthemu a lot. CorelDraw is a vector graphics editing software where images are edited for logos, signs, letterheads, posters, certificates, letters of patent, illustrations, web-based artwork, and various other 2Dimage-relatedd projects.Aree create.d This software is developed and marketed by Corel Corporation. All graphic documents can be done. People interested in becoming graphic designers should learn Corel Draw because it is astandardn tool for their projects. The software is user-friendly and easy tounderstand; thesee features make Corel the best environment for creating 2D projects. Next, we are going to discuss how to install this software.
first step
Beforeinstallingl this software, you should check 5essentialt things in your system.
1. You must havefour4 gigs of space on your hard disk to install Corel. Pay attention that this space must be in drive C.
2. It is recommended to have 8 GB of RAM on your system. Of course, Corel can also work withfour4 gigs of RAM, but it is better to have 8 gigs to experience ease when using this software.
3. 64-bit Intel or AMD processor supporting 4 GHz or higher is also required.
4. Windows or IOS operating system witha 64-bit configuration must be installed on your system.
5. Internet connection must be good enough to complete your registrationcorrectlyy and receive the necessary software activation requirements, subscription notice,s, access to all online services, etc.
The second step
Visit the official CorelDraw website to download and install the latest version of CorelDraw. This web page contains all the latest features available in CorelDraw. This tool has all the personal and professional needs for graphic design work for students and professionals in various usage modes per the requirements. The latest version of the tool features new templates and easy navigation modes, improvements to the Pixel workflow, and much more.
After clicking on the download trial package, the browser will download the Corel executable file in the Download system. Make sure to keep the Wi-Fi or Internet connection active for the entire installation process.
The third step
After the downloae, double-click the CorelDraw Graphics Suite X7Installer_EN64Bit.exe file to install the program. This will start the software installation on the system. Let the programentirely runy with all supporting files.
The fourth step
After downloading all the support files for installation, the tool will ask you to read and accept the terms and conditions of the Corel User License Agreement, which includes the details anddurations of the copyright user license. And click Next.

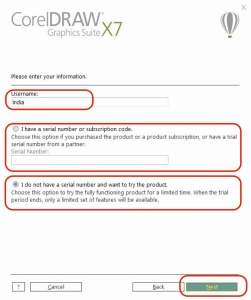
The fifth step
A window will now appear asking for a username. In default systems, the user’s login name is applied as the username by the tool. Users can change it if needed. Continuing with that, if the user has purchased a serial number, we can select “I have a serial number” and type in the serial number we received via email after purchase. If the user wants to use the Trail Pack, the user can directly select “I don’t have serial number want to try the product” and click next.
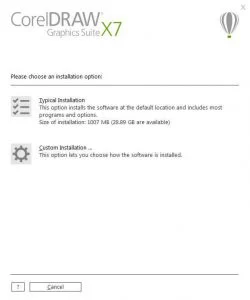
The sixth step
Typical installation:
Selecting this will install the default \:C drive with all programs and assignment options. Before doing this,ensuree that the \:C drive has at least 4 GB of space to complete the installation process. Theentirel program will be installed.

Custom installation:
By selecting this option, we can order limited programs familiar to users from the required set. 4 Installation sets can be configured before installation.
The seventh step
Users can check the list of desired programs from the sui, remove the application’s tickn they are not familiar wit,h and click next.

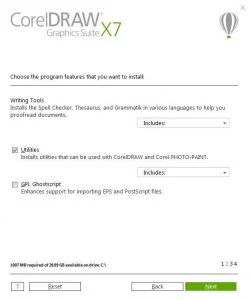
The eighth step
A fewessentialc tools and writing tools can be configured, but most users use it as the default, because thedevicel has the best order ofvaluablel tools to use, it’s better not to change any settings if you don’t have enough information. At this point, you can only click on Next.
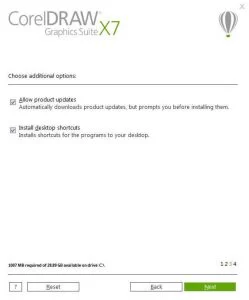
ninth step
If you want to interrupt the update or create an icon on the desktop, just tick the option. After doing this, click next.
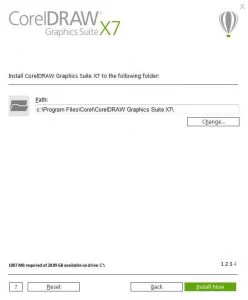
tenth step
Confirm the software installation path. Doing so will help install all the saved support files and plugins and help launch the program on the system.
If needed, users can change the default drive or location the tool selects. And click on install now.
The eleventh step
The tools take some time to install all the software files. Wait until the program is fully installed.

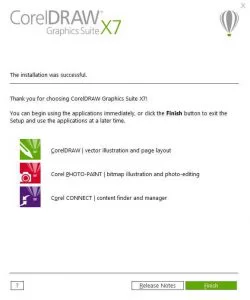
twelfth step
A window will show a successful installation complete with details of the installed programs from the selected set. At this stage, the programs are installed on the system and ready to be used with desktop shortcuts.
Click Finish to complete the installation process.
The thirteenth step
and select run as administrator so that the system will launch the application when the application is first opened after installation, it will take some time due to backend configuration and setup.

The fourteenth step
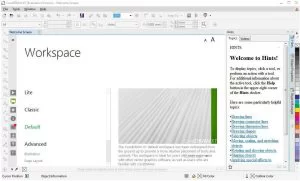
The main Apps page opens, and the app is ready to use with all the documents, preferences, layers, and tools needed for the project. Before starting new projects, users can create the concept of building the file size according to their need. The workspace is available in different sizes like all paper sizes like A4, and A3, logo making, invitations, posters, and all other printables that can be used in the software.
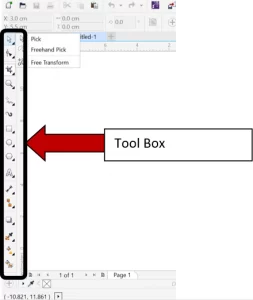
Tools in Corel
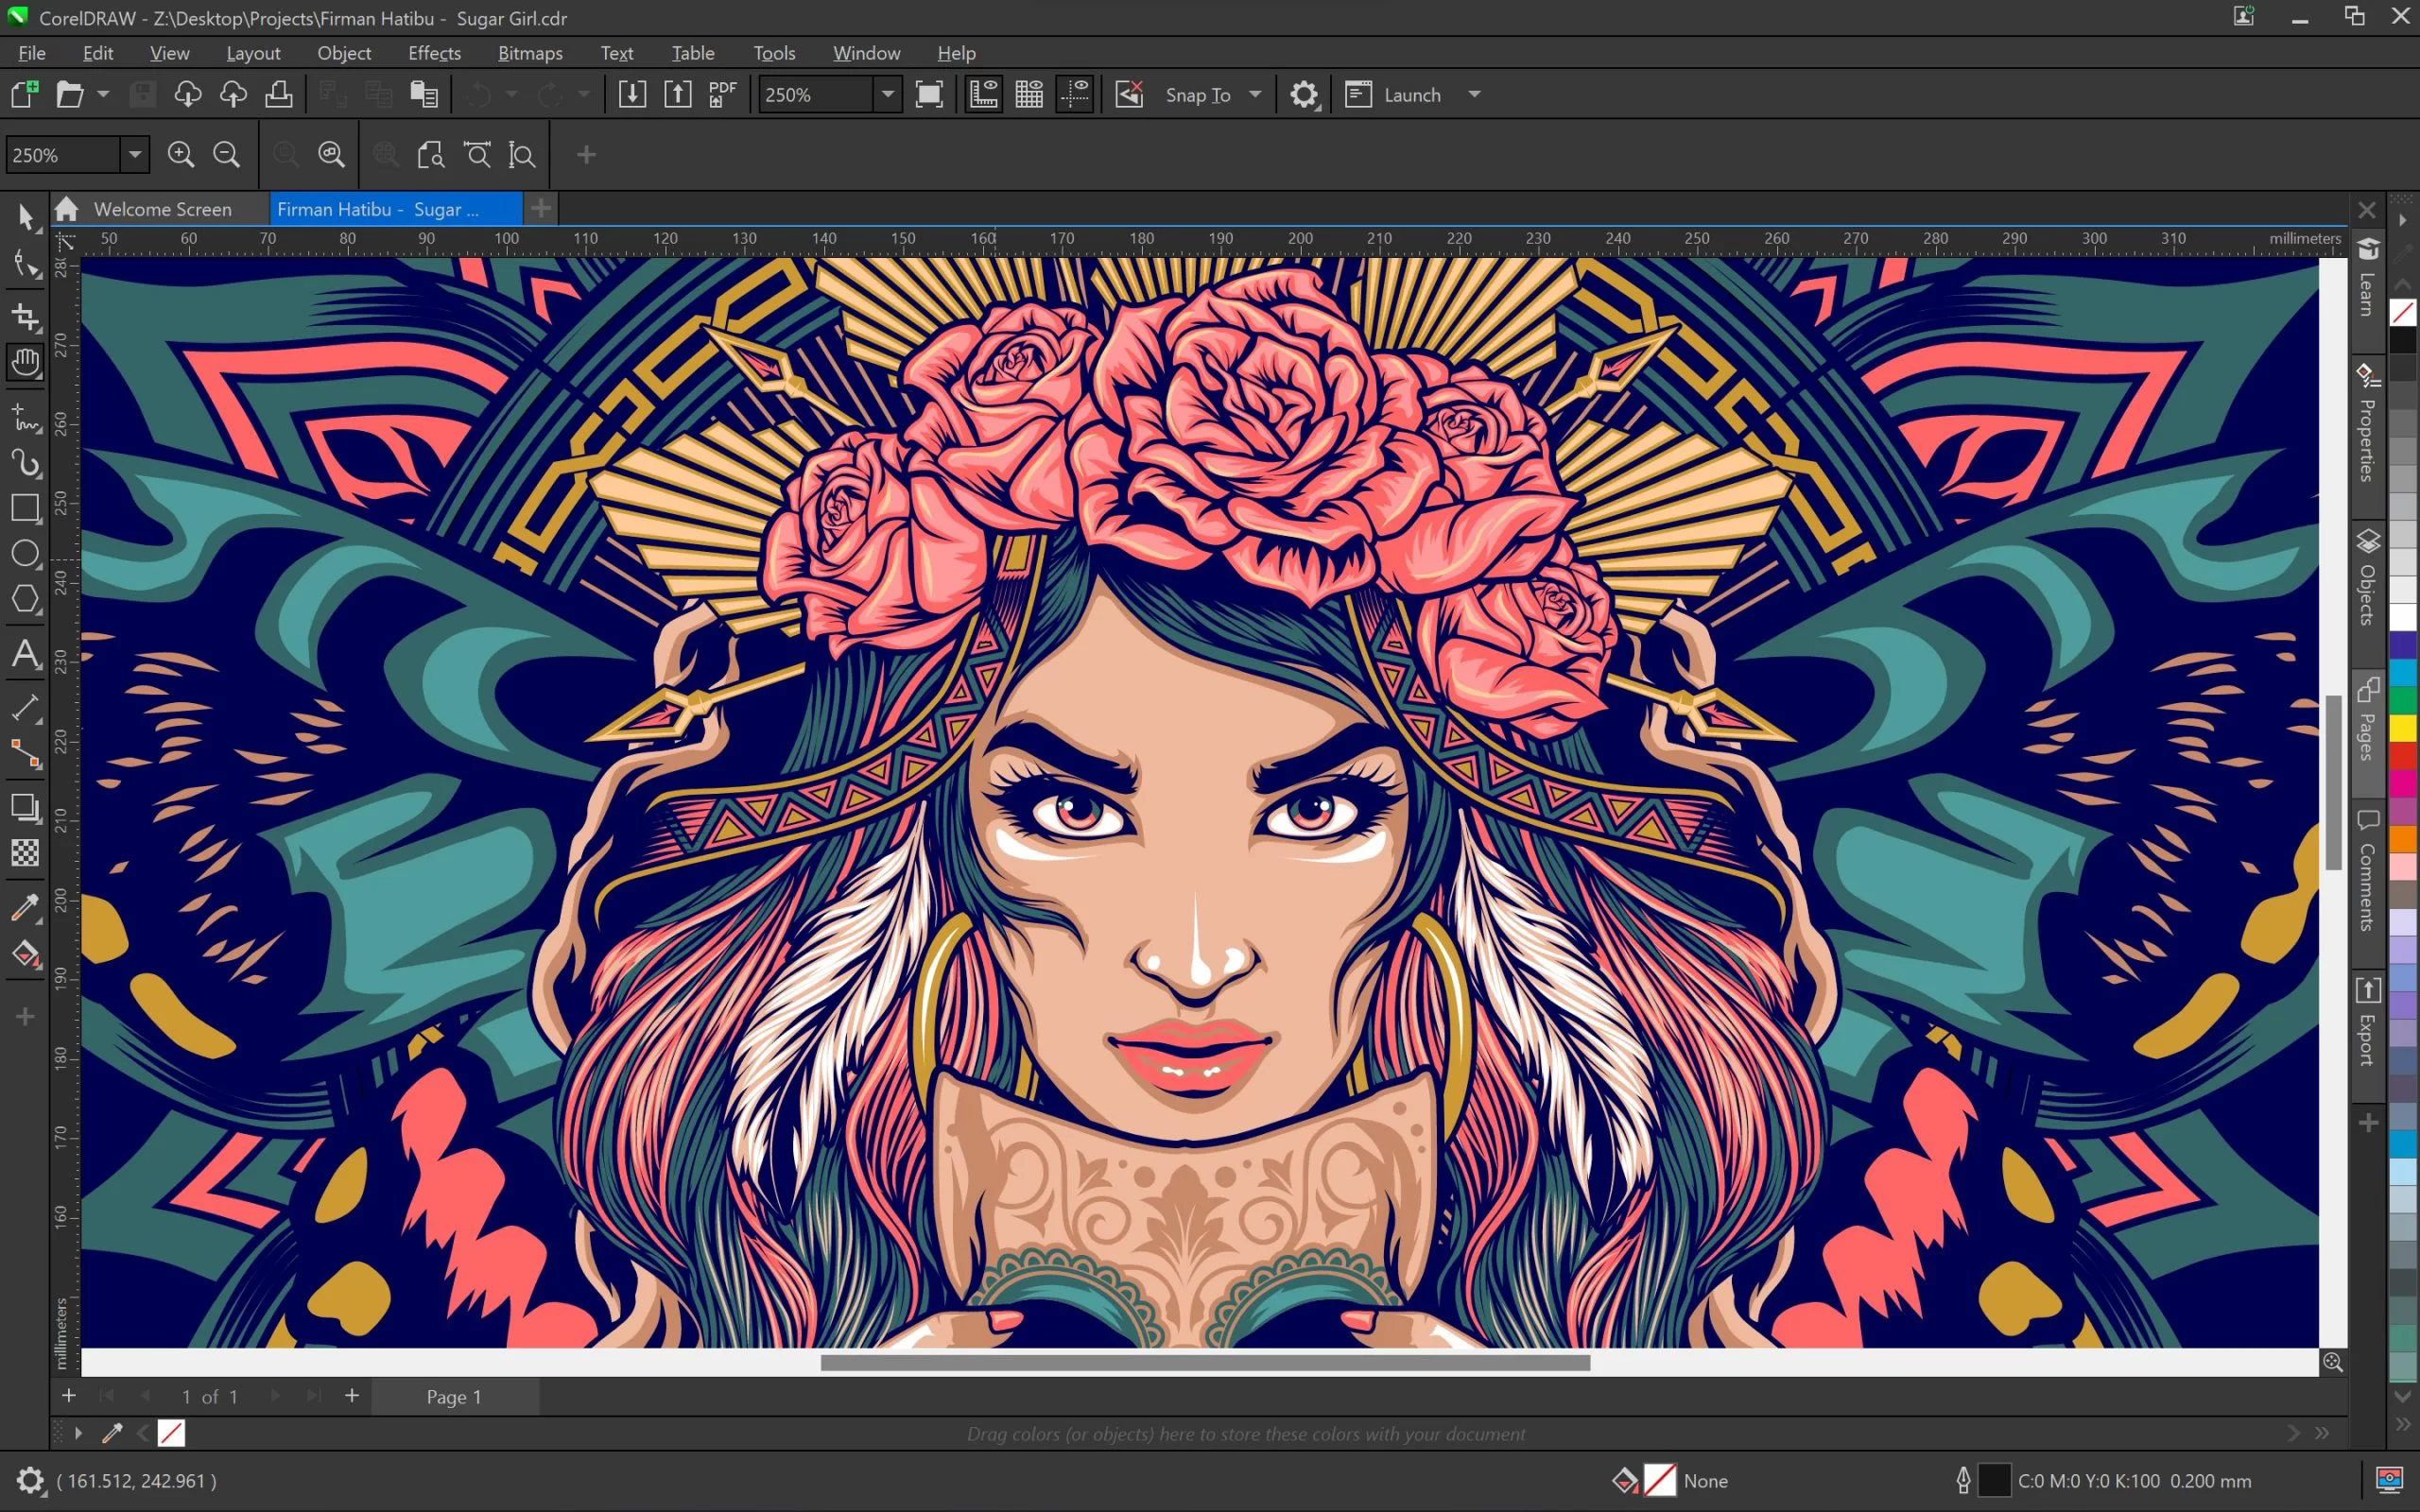
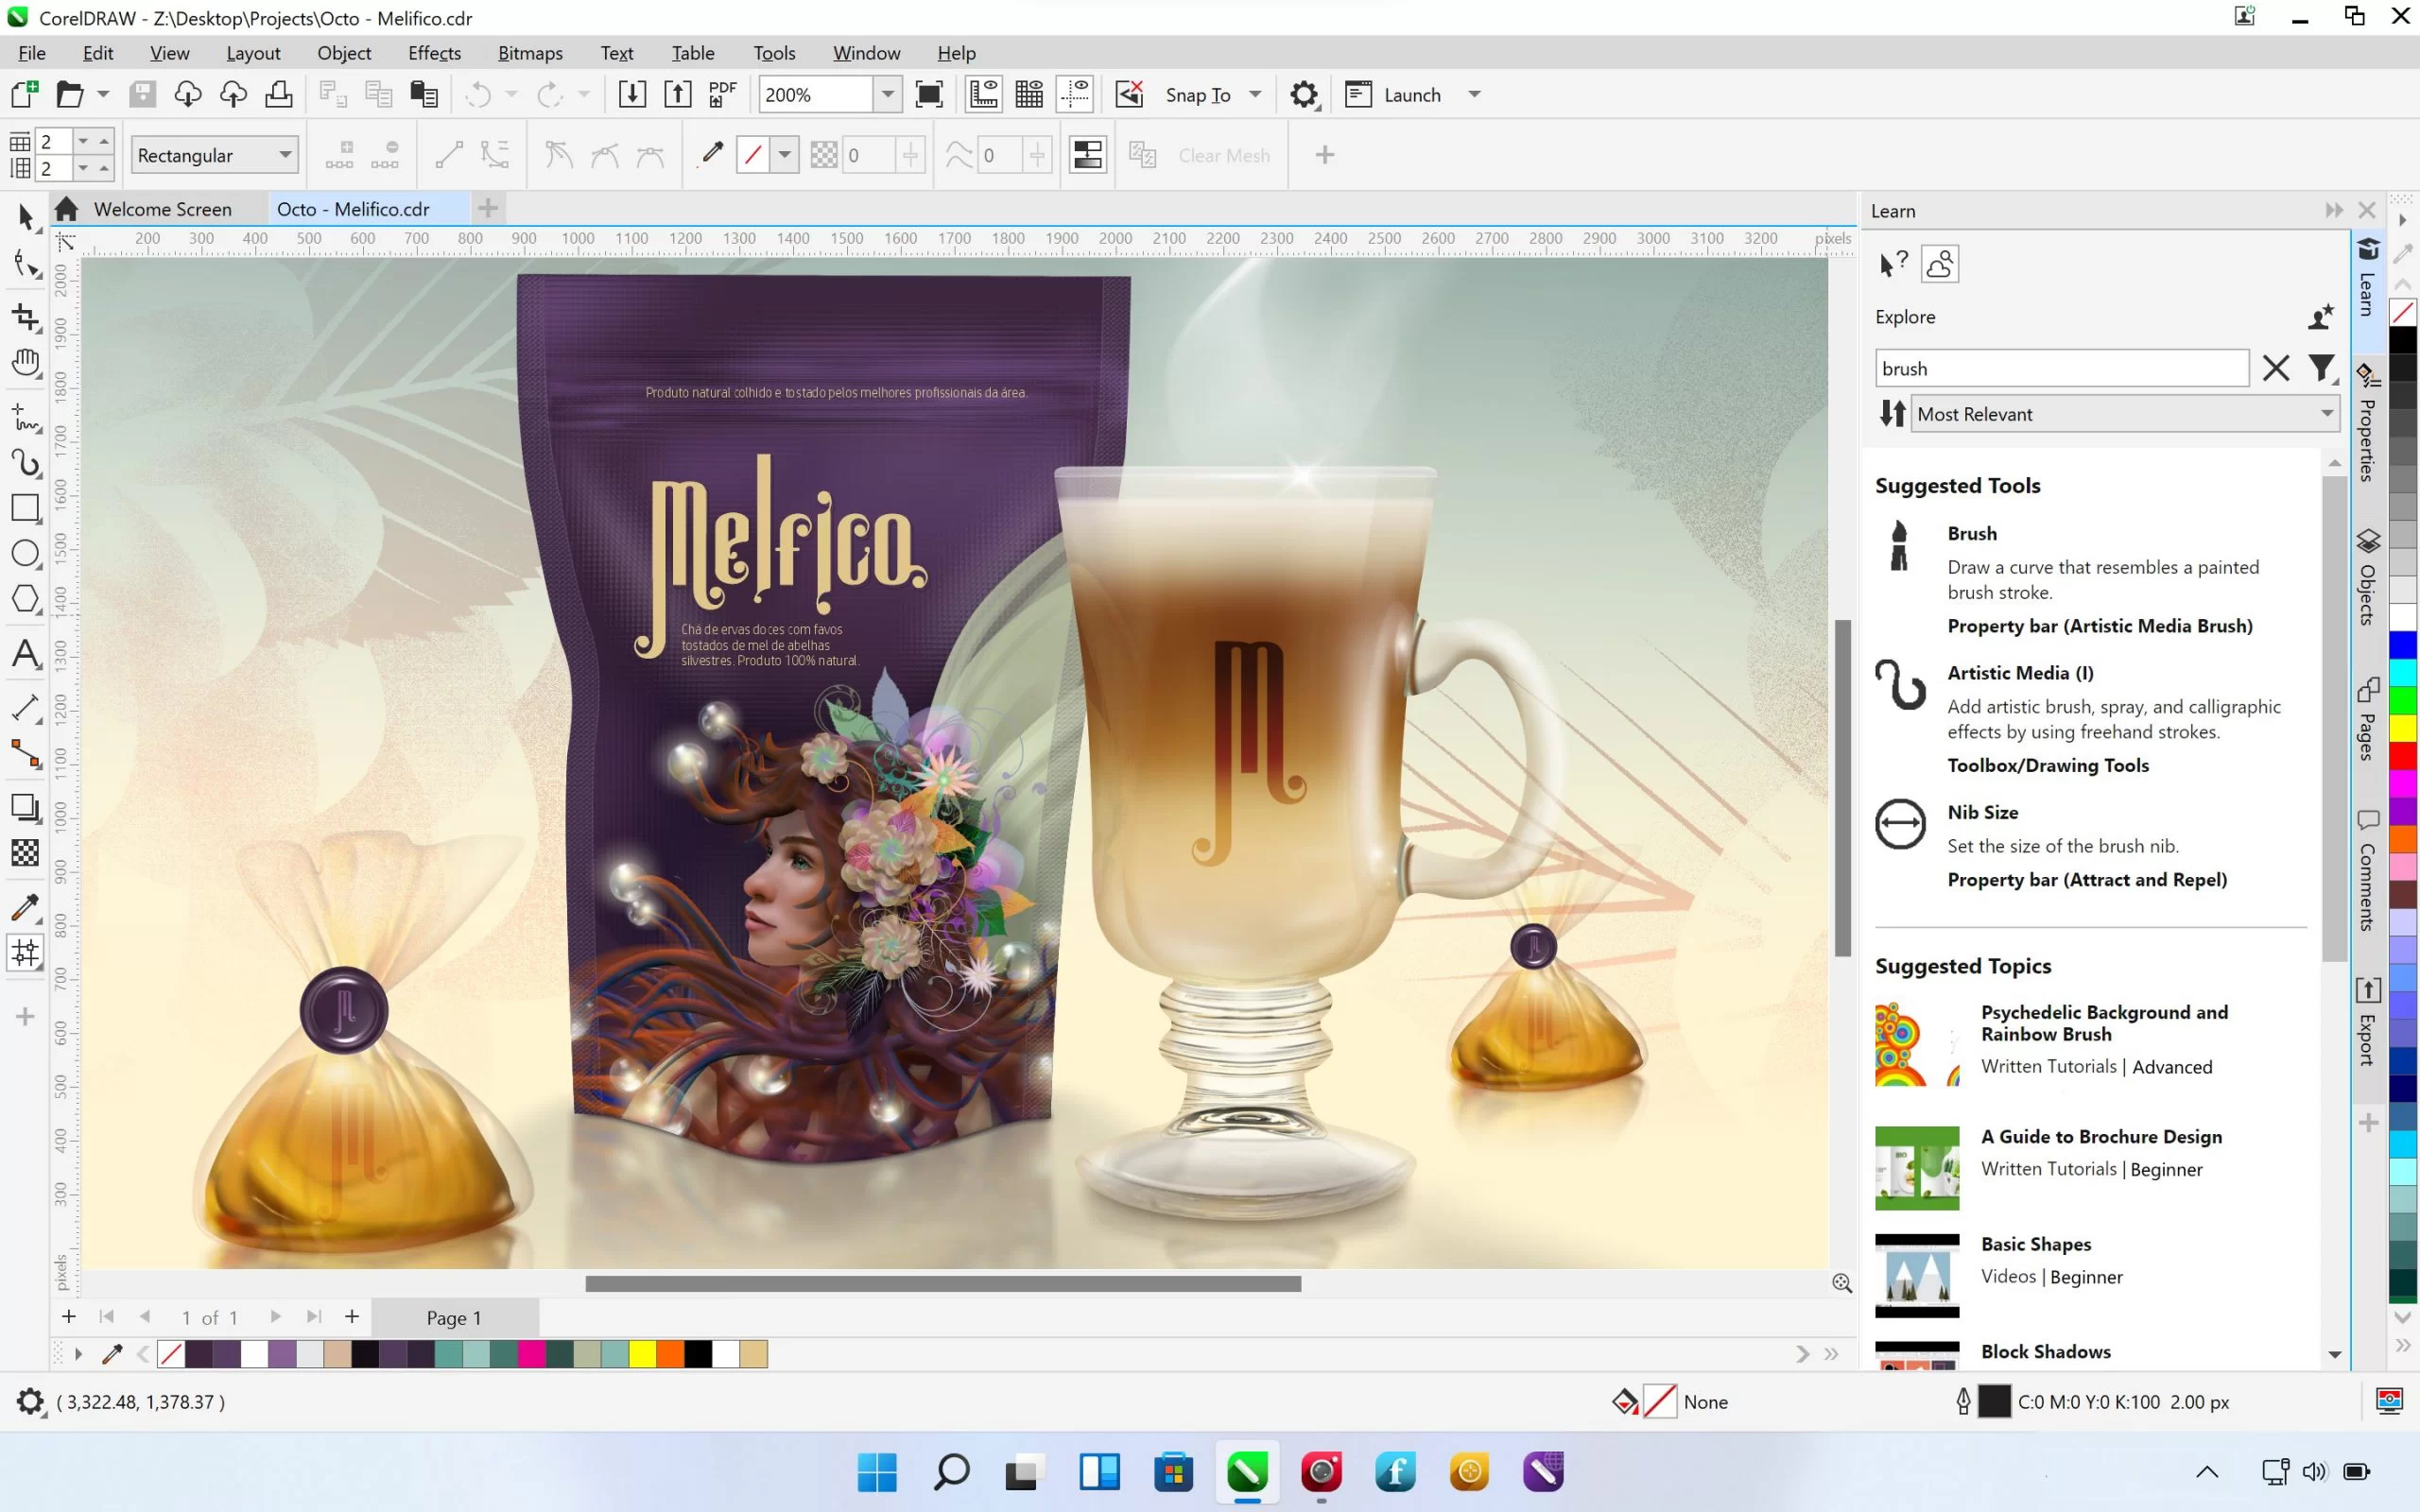
So a typical CorelDraw window looks like this.
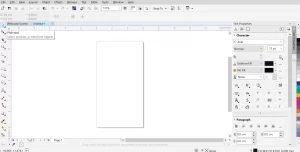
The location of the Corel Toolbox is shown in the figure below.
Free Corel training step-by-step and video
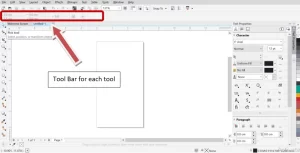
There is also a drop-down menu of tools in the menu bar, but almost everything necessary is covered in the toolbox.
As you select each tool, it will have its drop-down options, and also, they display their properties individually in the toolbar below the menu bar like this. Let’s look at the most essential tools in the Corel Toolbox.
Pick Tool:
It is a selection tool and works like the Move Tool in Photoshop; in the lower right corner of the tool you will find different options like Free Selection and Free Transform. These options allow you to resize the image, making it bigger or narrower, or even create a mirror image with the mouse.
Shape Tool:
This tool gives nodes and handles on the selected image, shape,, or even text. So when the nodes are chosen, that part of the object can be curved into different textures like blobs, blobs, swirls, etc.
Crop Tool:
As the name suggests, it helps to modify the selected image, shape, or text. It also allows you to cut the image like a knife and even erase it.
Freehand Tools:
This tool has several design options that allow you to create and draw any design. Therefore, this tool plays a vital role in the first stage of graphic design.
What is the next step?
In this article, an attempt was made to teach free Corel in general. It is not possible to learn Corel just by reading this article, and you should follow a complete tutorial in this field. Using Corel can give you tremendous power, so take the time to learn it. There are various training videos in Corel training, which can help you a lot. If you are interested in learning Corel, preparing a video tutorial for it as soon as possible is better.
Conclusion
It is impossible to fit the free corel tutorial into one article. The use of Corel software requires the use of good training. It is better to use a tutorial video to learn Corel. Many educational videos may be suitable for you. You can refer to the tutorial to learn Corel. Just visit this comprehensive educational resource to learn about its unique features.