


How to create wallet on trust wallet
Step 1 – Launch Trust Wallet
Upon first launch of the app, you will be presented with the screen below which is the part where you can “Create a New Wallet” or “Import” an existing one. For this guide, we will select on Create a New Wallet.

image
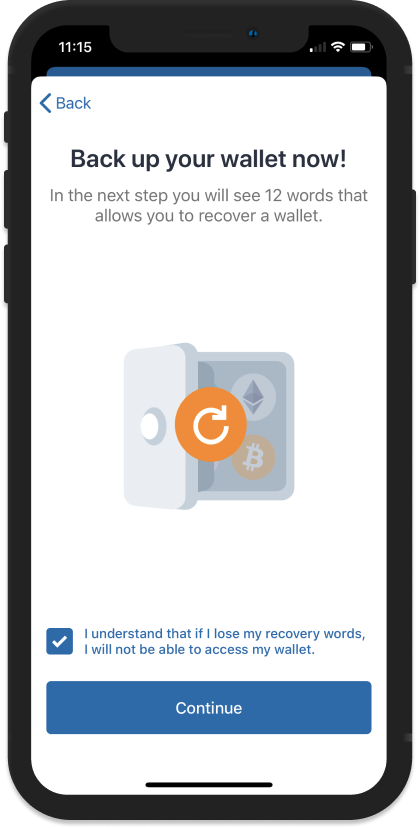
Step 2 – Accept Terms of Usage
In order to proceed, you would need to accept the Terms of Usage. Simply put a check mark at the box then press on Continue. No turning back now.
Warning!
If you agree to to the terms of usage please be aware that, losing your recovery phrases will also mean that you lose access to your wallet.
image
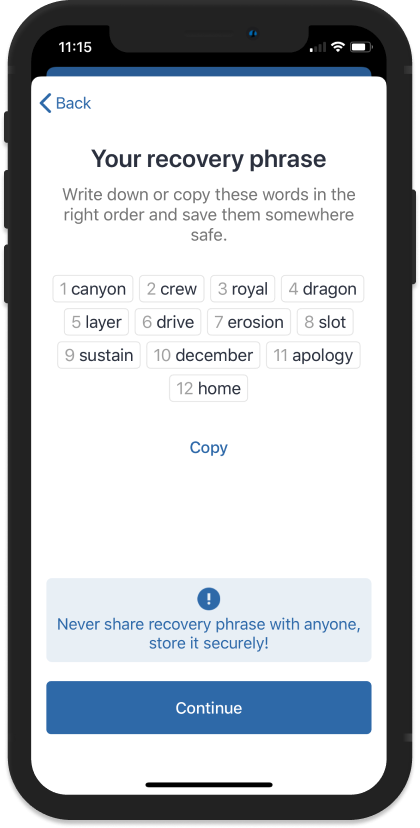
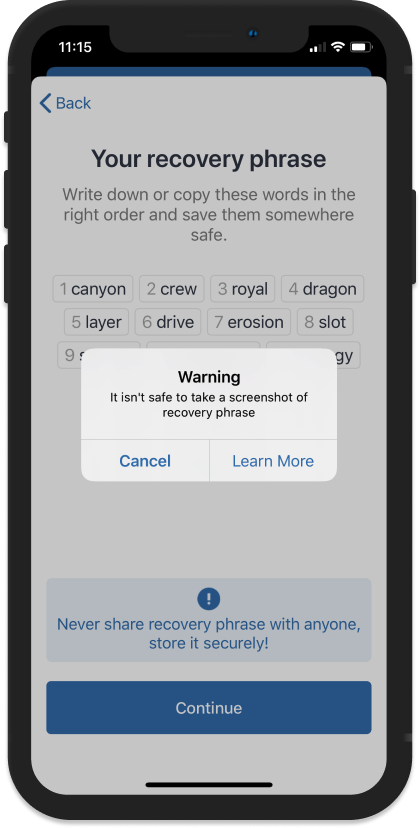
Step 3 – Save your Recovery Phrase
This is the most important part of your crypto journey. You need to take note of your recovery seed phrases. Your recovery phrases are the keys to your crypto wallet. So make sure to keep them in a safe place. Tap on Continue to proceed.
image
image
Note
This is a real recovery phrase for an actual multi-coin wallet.
Does it contain anything? We will never know.
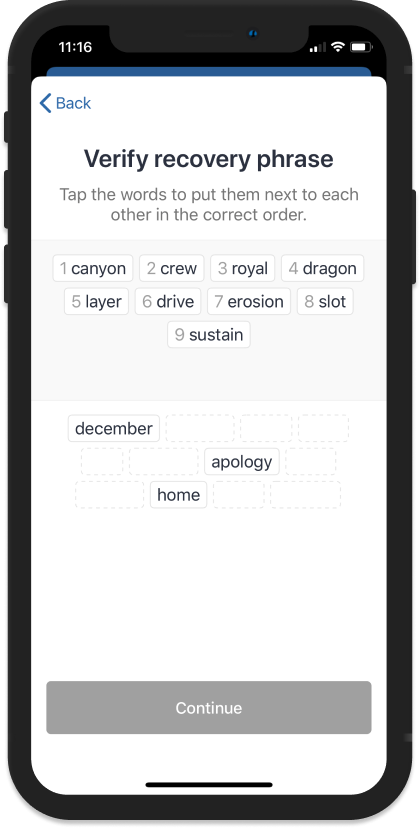
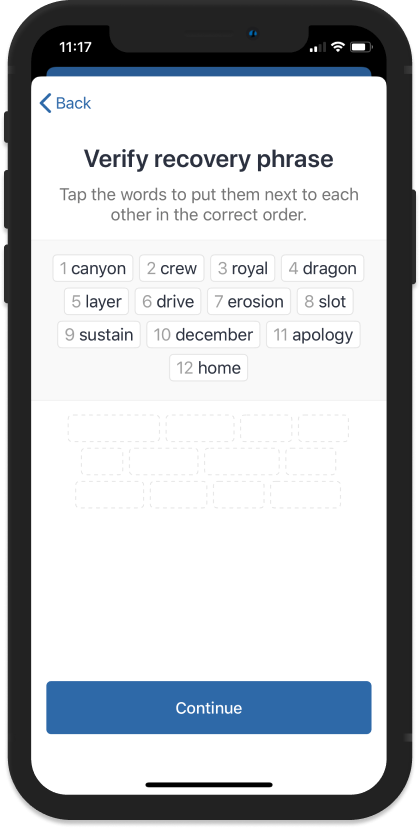
Step 4 – Verify your Recovery Phrase
If you followed Step 3 and backed up your recovery phrase, this will be a breeze.
In the correct order, select the words in order to complete the verification process. Click Continue when you are finished.
image
image
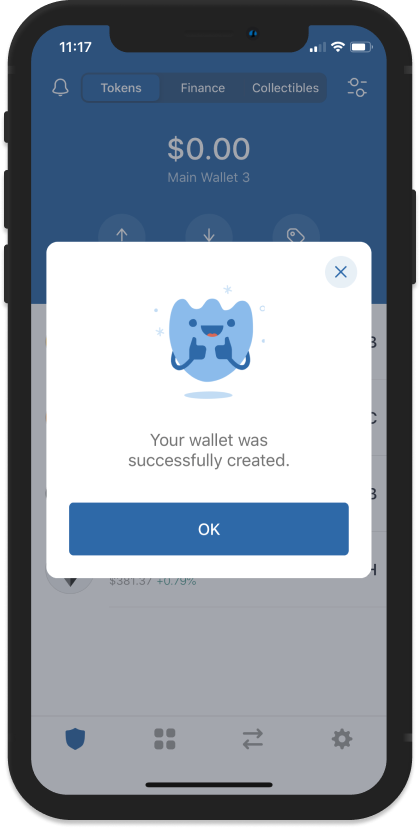
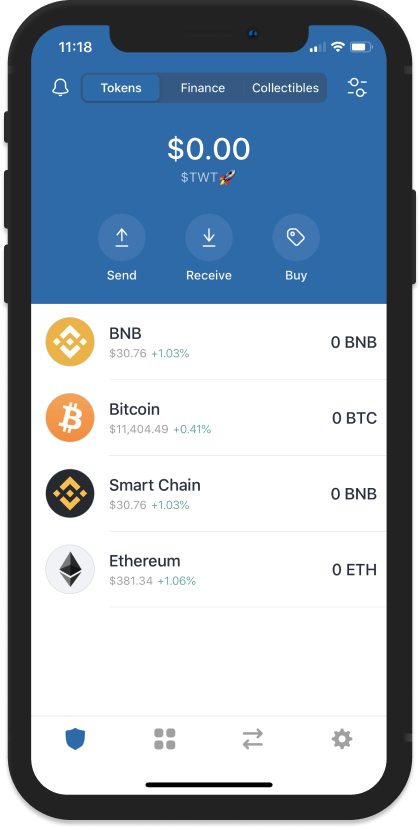
Step 5 – Wallet is Ready
After going thru the backup and verification process you will be redirected to the main wallet screen. You will see an initial list of coins that you can start funding right away. Congratulations!
image

Personalize Your Wallet
You can set the name of your wallet so that you can easily recognize it. This change is only a local setting on the app and can be changed at any time.
Go to the Settings menu, then tap on Wallets.

Next, tap on the i symbol beside the wallet that you want to personalize. Save it and you are done.
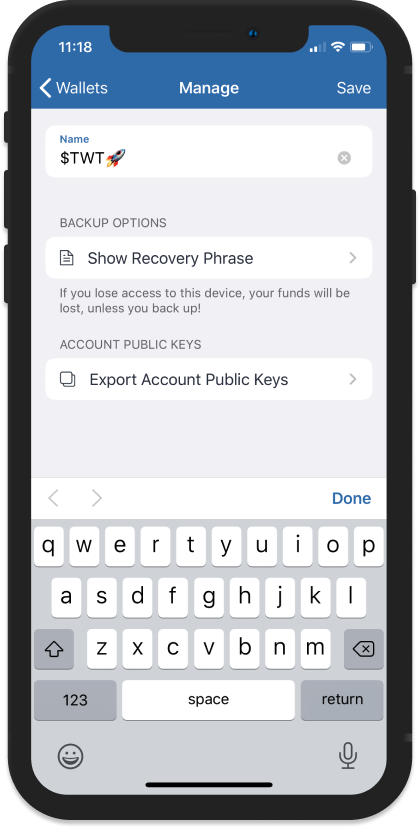
Note:
Also on the same screen, you will see Show Recovery Phrase. You can always go back here if you want to get your recovery phrases.
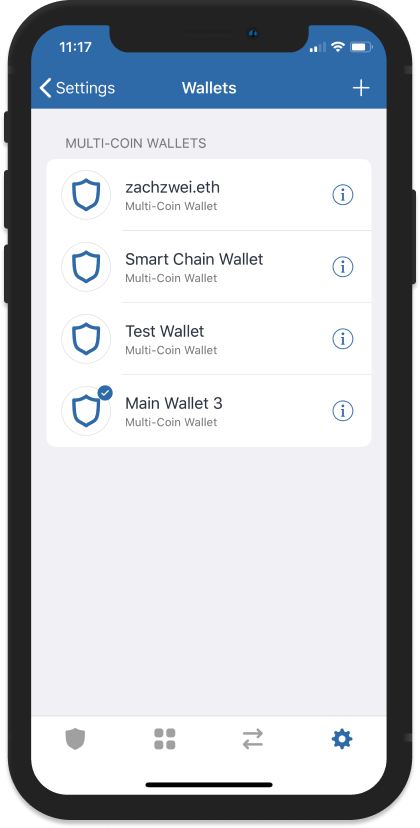
Can I Create Multiple Wallets?
There is a limit of 15 wallets that you can create on the app. Here are the steps to do so.
Open Trust Wallet and then tap on Settings . In the Settings screen, tap on Wallets .
Tap on the “+” sign on the upper right to access the Create/Import a Wallet Screen. Go back to Step 1 of this guide to create a new wallet.
How to Set Up and Use Trust Wallet for Binance Smart Chain
Here’s how you can get set up on Trust Wallet and start using Binance Smart Chain in just a couple of minutes.
Setting up your wallet for Binance Smart Chain
- Download Trust Wallet. If you already have Trust Wallet, make sure your app is up to date.
- Complete basic setup of a multi-coin wallet. Remember to save your backup phrases.
- Go to your Smart Chain wallet and press receive to find your address.

- Deposit BEP20 assets to your wallet. The easiest way to do this is with Binance. Choose an asset on Binance that supports BEP20 withdrawals and withdraw to your Trust Wallet Binance Smart Chain address. Keep in mind that BNB is required to make any transactions on Binance Smart Chain.

- That’s it! You’re ready to start using Binance Smart Chain.
- Once you’ve received a BEP20 token, to view your transaction ID you can click on the transaction, press the share button in the top right and then copy the transaction ID.

Using Binance Smart Chain Dapps
- For this part, iOS users will need the Dapp browser, which you can get by following this guide. Android users have the Dapp browser by default.
- Once you’ve topped up your wallet, open the Dapp browser by pressing on the four squares at the bottom of the app.
- Navigate to a Binance Smart Chain Dapp like PancakeSwap or BurgerSwap.
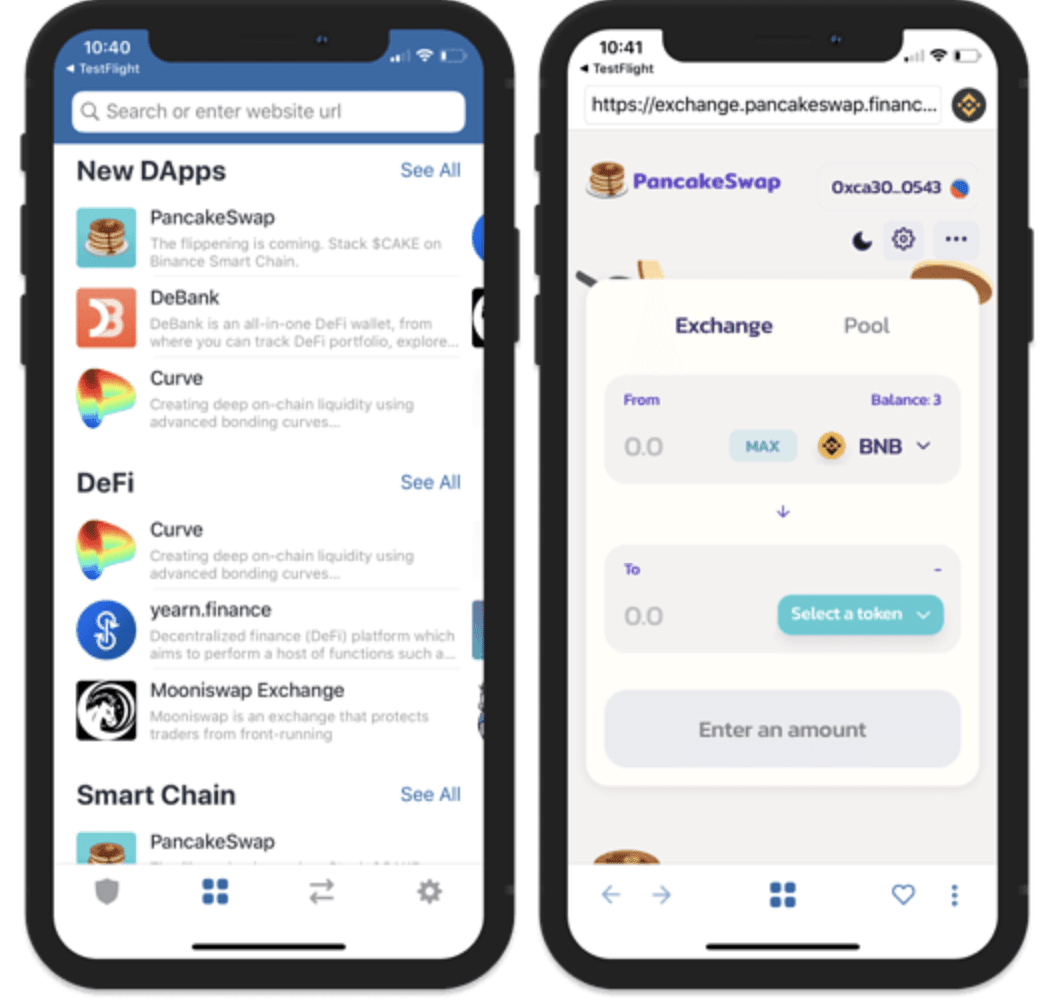
- Use the Dapp and have fun!