


How to Create a Website with Dreamweaver?
In this article, we are going to teach Dreamweaver. But before that, let’s review what Dreamweaver is and what it does. Dreamweaver software, whose full name is Adobe Dreamweaver, is a product of Adobe. Yes, this famous company has provided other products such as Photoshop and Acrobat Reader. The ultimate goal of Dreamweaver is to build a website with it.
Website pages consist of html pages, css files, javascript, XML files, etc. Fortunately, Dreamweaver helps us to create all these files. Dreamweaver supports a technology called WYSISYG. Software that supports this technology allows you to preview the final output. The saying goes, “What you see is what you get.” Dreamweaver provides you with many features to make website creation easy. To better understand how this story works, stay with us in the continuation of this tutorial.
If you want a place to learn website design, I recommend the website design training series in Faradars.
Dreamweaver training for creating a website
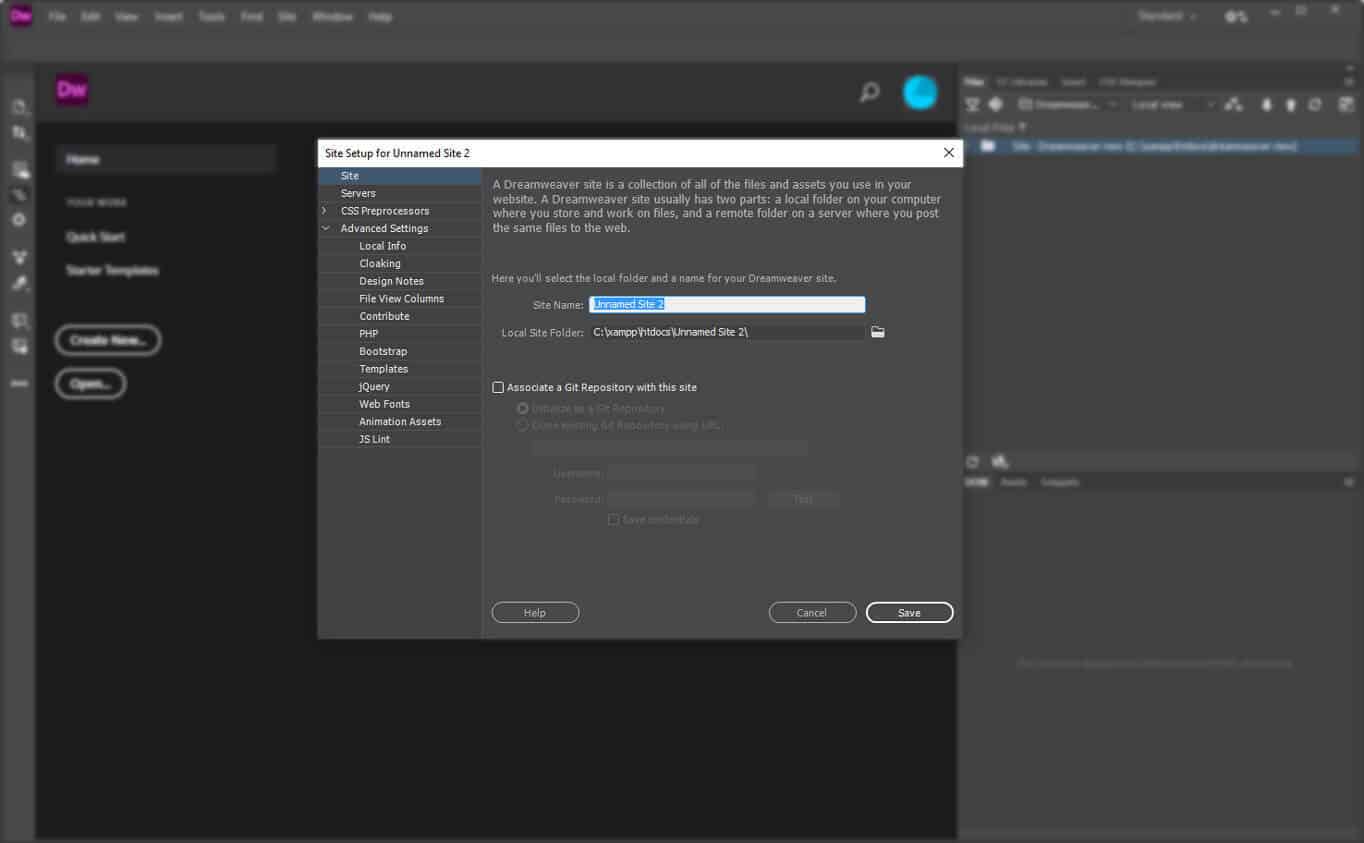
In this part of the Dreamweaver tutorial, we will build a very simple website together. During this tutorial, you will be familiar with how to work with Dreamweaver and its features. In this tutorial, we use Adobe Dreamweaver CC. After you install Dreamweaver and enter its environment, create a new website using the Create New button. A page similar to the image below will be displayed by clicking on this button.
In the Site Name field, assign a name to your website, and then in the Local Site Folder field, select a location on your computer where your website files will be saved. Finally, click on the Save button. Of course, you also have the option to specify FTP hosts in the Dreamweaver settings so that the changes you make can be automatically uploaded to those hosts whenever you want.
We’re factoring in this part of the work for now, but it’s worth being aware of the existence of such a feature. After you create a website with the help of Dreamweaver, a series of folders and files are added to this website by default. For now, we will not go into each of them because we are going away from the main goal.
Dreamweaver training – adding HTML file to the website with Dreamweaver
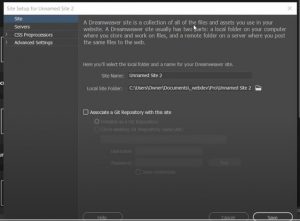
In this part of the Dreamweaver tutorial, we want to add an HTML file to our project. On the main page of Dreamweaver, you will see an image similar to the one below.
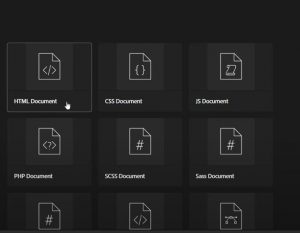
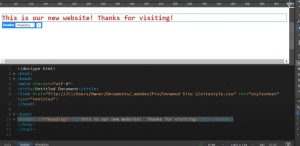
Click on HTML Document to add an HTML page to your website. After you add the HTML page to your website, some HTML code that contains the main structure of that page is automatically added to it. The image below shows the created HTML file.
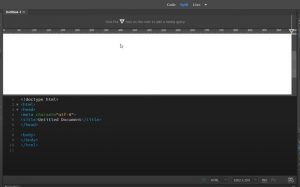
At the top of the page, you have three tabs named Code, Split and Live. Click on any of them and see the result. In Code mode, you will see only the HTML tags and other codes in the HTML file. In Live mode, you will see a preview of what you have created. Live mode is the final output of your website. What we mentioned at the beginning of the article as WYSIWYG is implemented in this live view. In Split mode, the screen, similar to the image above, is divided into two parts, one assigned to the codes and the other to the live output. This model is a combination of Code and Live modes.
Note that all the modes you have seen so far are in a more general mode called Standard. Similar to the image below, if you click on the Standard title in the upper and right corner of the page, a submenu will open that will also provide you with Developer mode. You can try it too.
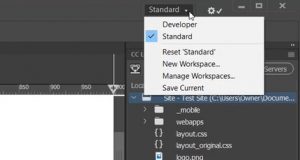
In addition, through this sub-menu, it is possible to further personalize the working environment in Dreamweaver. The work environment in Dreamweaver is known as Workspace, You can have different Workspaces and apply all related settings at once by calling a specific Workspace whenever you want. Well, we return to our HTML page. We are in the same situation as we are on this page. In the right panel, select the Insert tab.
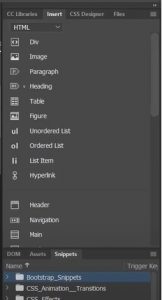
You will see that a series of HTML objects appear with their names and, of course, a small icon next to them. The presence of these icons will make it easier to find objects visually. If you have even a basic knowledge of HTML tags, these objects will not be unfamiliar to you. These objects are the same HTML tags that can be graphically selected and added to the page so that you don’t have to write code. We select a header object to add to the page. You can see the result in the figure below.
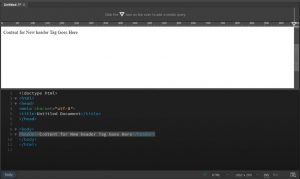
In the live view, the contents of the header tag are displayed. A header tag is added under the body tag set in the HTML codes section. You can change the text inside the header from both the live and code views. There is no difference; whatever you change, the other will be updated automatically. Now take another look at the heading object on the Insert tab; you’ll see a small downward arrow appear next to it.
You can select H1 to H6 tags if you click on this arrow. We choose the H2 tag for it. As a result of this selection, our HTML file will be updated as below.
As you can see, the h2 tag is placed inside the heading tag, and the heading content is placed inside the h2. Undoubtedly, one of the best ways to learn something is project-based learning. In this regard, I suggest you the Dreamweaver project-based training.
Dreamweaver training – adding CSS files to the website with Dreamweaver
So far, our Dreamweaver website has been created, and an HTML file has been placed in it. Of course, our HTML file does not have much content; for now, only a page title has been added. In this part, we are trying to pay more attention to the site’s appearance. As you probably know, CSS files are used for the appearance of websites; Therefore, we also added a CSS file to the project.
When we assign a style to a specific tag using CSS, there are two common methods for this, one method is to use classes in CSS, which is more desirable, and the other is to use ids, which also have their applications. TheHere, we prefer to use id. Let’s see how to give a special style to the heading tag with the help of id.
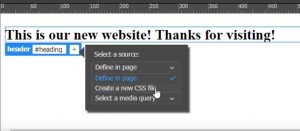
Fortunately, this is very easy to do in Dreamweaver. In the live view, select the heading tag. Below the heading tag and right next to it is a small blue label with the text header written inside it, and there is a plus sign next to it. Click on the plus sign. A text box appears, and inside that text box, we write the heading text with a hashtag, as shown below.
Then click the plus sign again. This time a submenu will open. Click on Define a page. It gives you two options. The first option is to Define it on the page. If you select this option, CSS codes will be added directly to the HTML page. Usually, this method is not desirable. So we chose the second option, Create a new CSS file,e, so our CSS codes are saved in a separate file.
Next, a dialog box will open, asking you for the name and path to save the CSS file. We name it siteStyle.css and save it in the path of other CSS files of this website. Now our HTML file is also updated as follows.

As you can see, an id attribute is added to the header tag, and the name we assigned to it is added inside a pair of quotes. So far, the CSS file has been added to the project, and the connection between the CSS file and the HTML file has been established automatically. Next, we will discuss how to edit the CSS file.
Edit CSS content in Dreamweaver
In this part of the Dreamweaver training, we will discuss how to edit the contents of the CSS file that we created in the previous section. For this purpose, we first select the header in the live view. Then, on the right panel of the main page of Dreamweaver, we select the CSS designer tab.
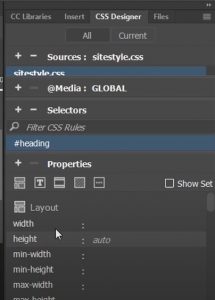
In the Properties section, you can enter CSS properties. Various features, such as length, width, background color, minimum width, etc., are available. If you don’t see these features, uncheck the Show Set option. Now it is enough to enter its value in front of each of these features or choose one of the default values that Dreamweaver has considered for that feature.
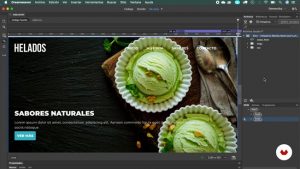
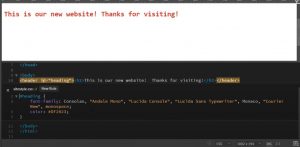
Your CSS file will be updated automatically, and the live view will also be refreshed automatically. Here we change the default font. For this purpose, select the font-family option in the features list and then click on the default font in the box opposite it so that a list of fonts you can choose will open for you. To make the work more beautiful, we also change the color of the text with the Color feature. The image below shows the result of these changes
Suppose you pay attention to the contents of the HTML file. By making CSS changes, no changes have been made to it, which is logical. Because we selected the new file option for CSS at the beginning. As a result, all our changes will be applied in the same siteStyle.css file. Fortunately, Dreamweaver allows you to quickly edit only the part of that CSS file related to a particular item without having to find the original CSS file and edit its contents directly. For this purpose, right-click on the HTML file and select the Quick Edit option.

By doing this, similar to the image below, the styles associated with that particular selected item will be displayed. You can quickly edit it or add new features to it in the code.
Conclusion
Today, in this Dreamweaver training article, you got to know the main function of this software. At the same time, you worked with it practically and tangibly to understand its power closely. During this tutorial, we created a new website with Dreamweaver. We added an HTML file to it. We added a heading tag to our HTML file and created the appearance settings of this tag in a CSS file with the help of Dreamweaver features.
We also learned how to edit CSS CSSDreamweaver quickly. Of course, we could not cover all aspects of it in this tutorial, and our goal was just a basic introduction. You can advance in this direction and improve your knowledge with the help of educational resources introduced during this training.