

Before you can use Microsoft online services and tools, you must first create an account on this platform. In this article, we will teach you how to create a Microsoft account and use the online services of this program. We will also talk about how to customize your profile page.
How to create a Microsoft account
If you have a Hotmail account or any account with which you can use Microsoft services such as OneDrive or Xbox Live, you can use the same account as a Microsoft account, and all you have to do is enter the username and password of this account. Login.
To create a Microsoft account:
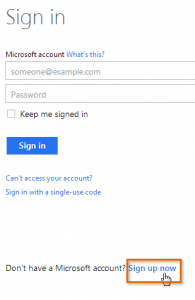
1- Log in to login.live.com and select the Sign up now option.

2- This will open the registration form for you. Enter your name, date of birth, gender, and as required.
Screenshot of Microsoft account
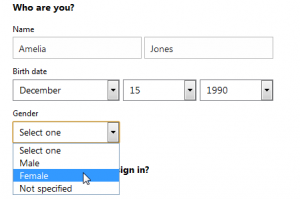

3- After reading Microsoft Services Agreement and privacy statement, click on Create account option.
4- Your Microsoft account has been created, and a page titled account settings are displayed.
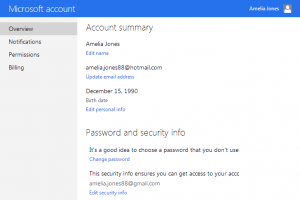

In this program, like other online services, it is better to use a complex password for your account, in other words, a password that is not easily guessed.
start of work
After creating a Microsoft account, you will be redirected to a settings page. To use your account features and services, such as OneDrive or Messenger, you must first log in to your profile page.
To enter the profile page:
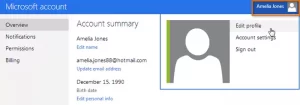
1. Go to the profile icon at the top right corner of the page, then select Edit profile from its drop-down menu.

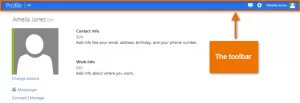
2. The profile page now appears. On this page, you have access to a toolbar that helps you use Microsoft online services.

To use the toolbar:
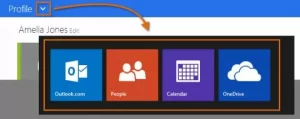
Click the drop-down menu arrow in the top left corner to open the Microsoft Services menu, which includes Mail (also includes Outlook or Hotmail), People (Contacts), Calendar, and OneDrive (previously, Its title was SkyDrive). To use any service, click on it.

You can access the Messenger, profile settings, and gear icons by clicking on the icons in the top right corner of the screen, which work to customize Microsoft services.
Profile settings
After making the settings for your Microsoft account and getting acquainted with its toolbar, it is time to make the settings and add your profile information.
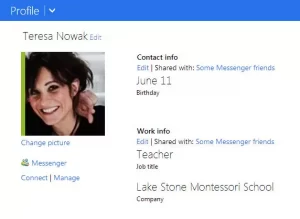
As mentioned in the first part, a profile is a page containing personal information linked to your Microsoft account. This profile can include the following:
- Basic information, such as date of birth and gender
- Additional contact information
- Personal information about work, social life, and education
- Links to social networks such as Facebook
Completing this information is completely optional, and we recommend that you do not enter too many details on this page. Of course, quick completion of the required items can be useful in several ways. It all depends on your decision.

To find out more about what information should be included in your profile, read our Smart Social Networking and Communication Tips article.
So To edit your profile, click on the dedicated icon in the top right corner of the screen, then select Edit Profile from the drop-down menu.


To add a profile picture:
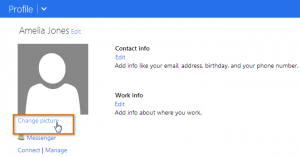
1- Log in to your profile, then click on Change picture.

2- Now, the profile photo box appears. Click on Choose File this time.
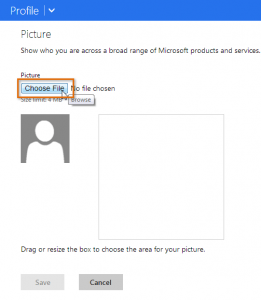

3- A small window is now displayed. Select the photo you want for your profile and click Open.
4- Now, your profile picture has changed. You can resize this photo by dragging the sides. After the photo correction operation, the preview will appear on the left side of the screen.
5. If you like this preview, click Save. This will save your profile picture.