


How to Add Sponsors to WordPress Plugins?
How to Add Sponsors to WordPress Plugins?
Many websites rely on WordPress’s financial sponsorship for various reasons. Whether for event promotions, or sponsor logos that are part of membership, it’s important to get logos, links, and other content to display properly.
Often, a WordPress website owner may face difficulty designing and placing sponsor logos, links, and other information on a page. This is because several steps are required to make it consistent across the page.
Fortunately, there is a WordPress sponsorship plugin that can help you do this quickly and easily.
A wide variety of websites rely on sponsors for a variety of reasons. Whether for event promotions, non-profit positions, or sponsor logos that are part of a membership, it’s important to get your logo, link, and other content to display properly.
A WordPress website owner may often face difficulties designing and placing sponsor logos, links, and other information on a page. This is because several steps are required to make it consistent across the page.
Fortunately, there is a WordPress sponsor plugin that can help you do this quickly and easily.
Before continuing the article, if you need to buy a WordPress host, visit the Ded9.com site and see the great plans at great prices.
What is sponsoring?
Sponsorship is a way of advertising that looks for ways to create a deeper connection and integration between an advertiser and a publisher. Often, they go beyond simple banner placement and into more content-based content and other types of co-branding opportunities.
Sponsors can be placed on websites for a variety of reasons. Anything from an ad insert to a shared logo that refers to a company can be considered a sponsorship.
Today, I will show you how to use a WordPress sponsor plugin to add sponsors to your website easily. Let’s dig right in.
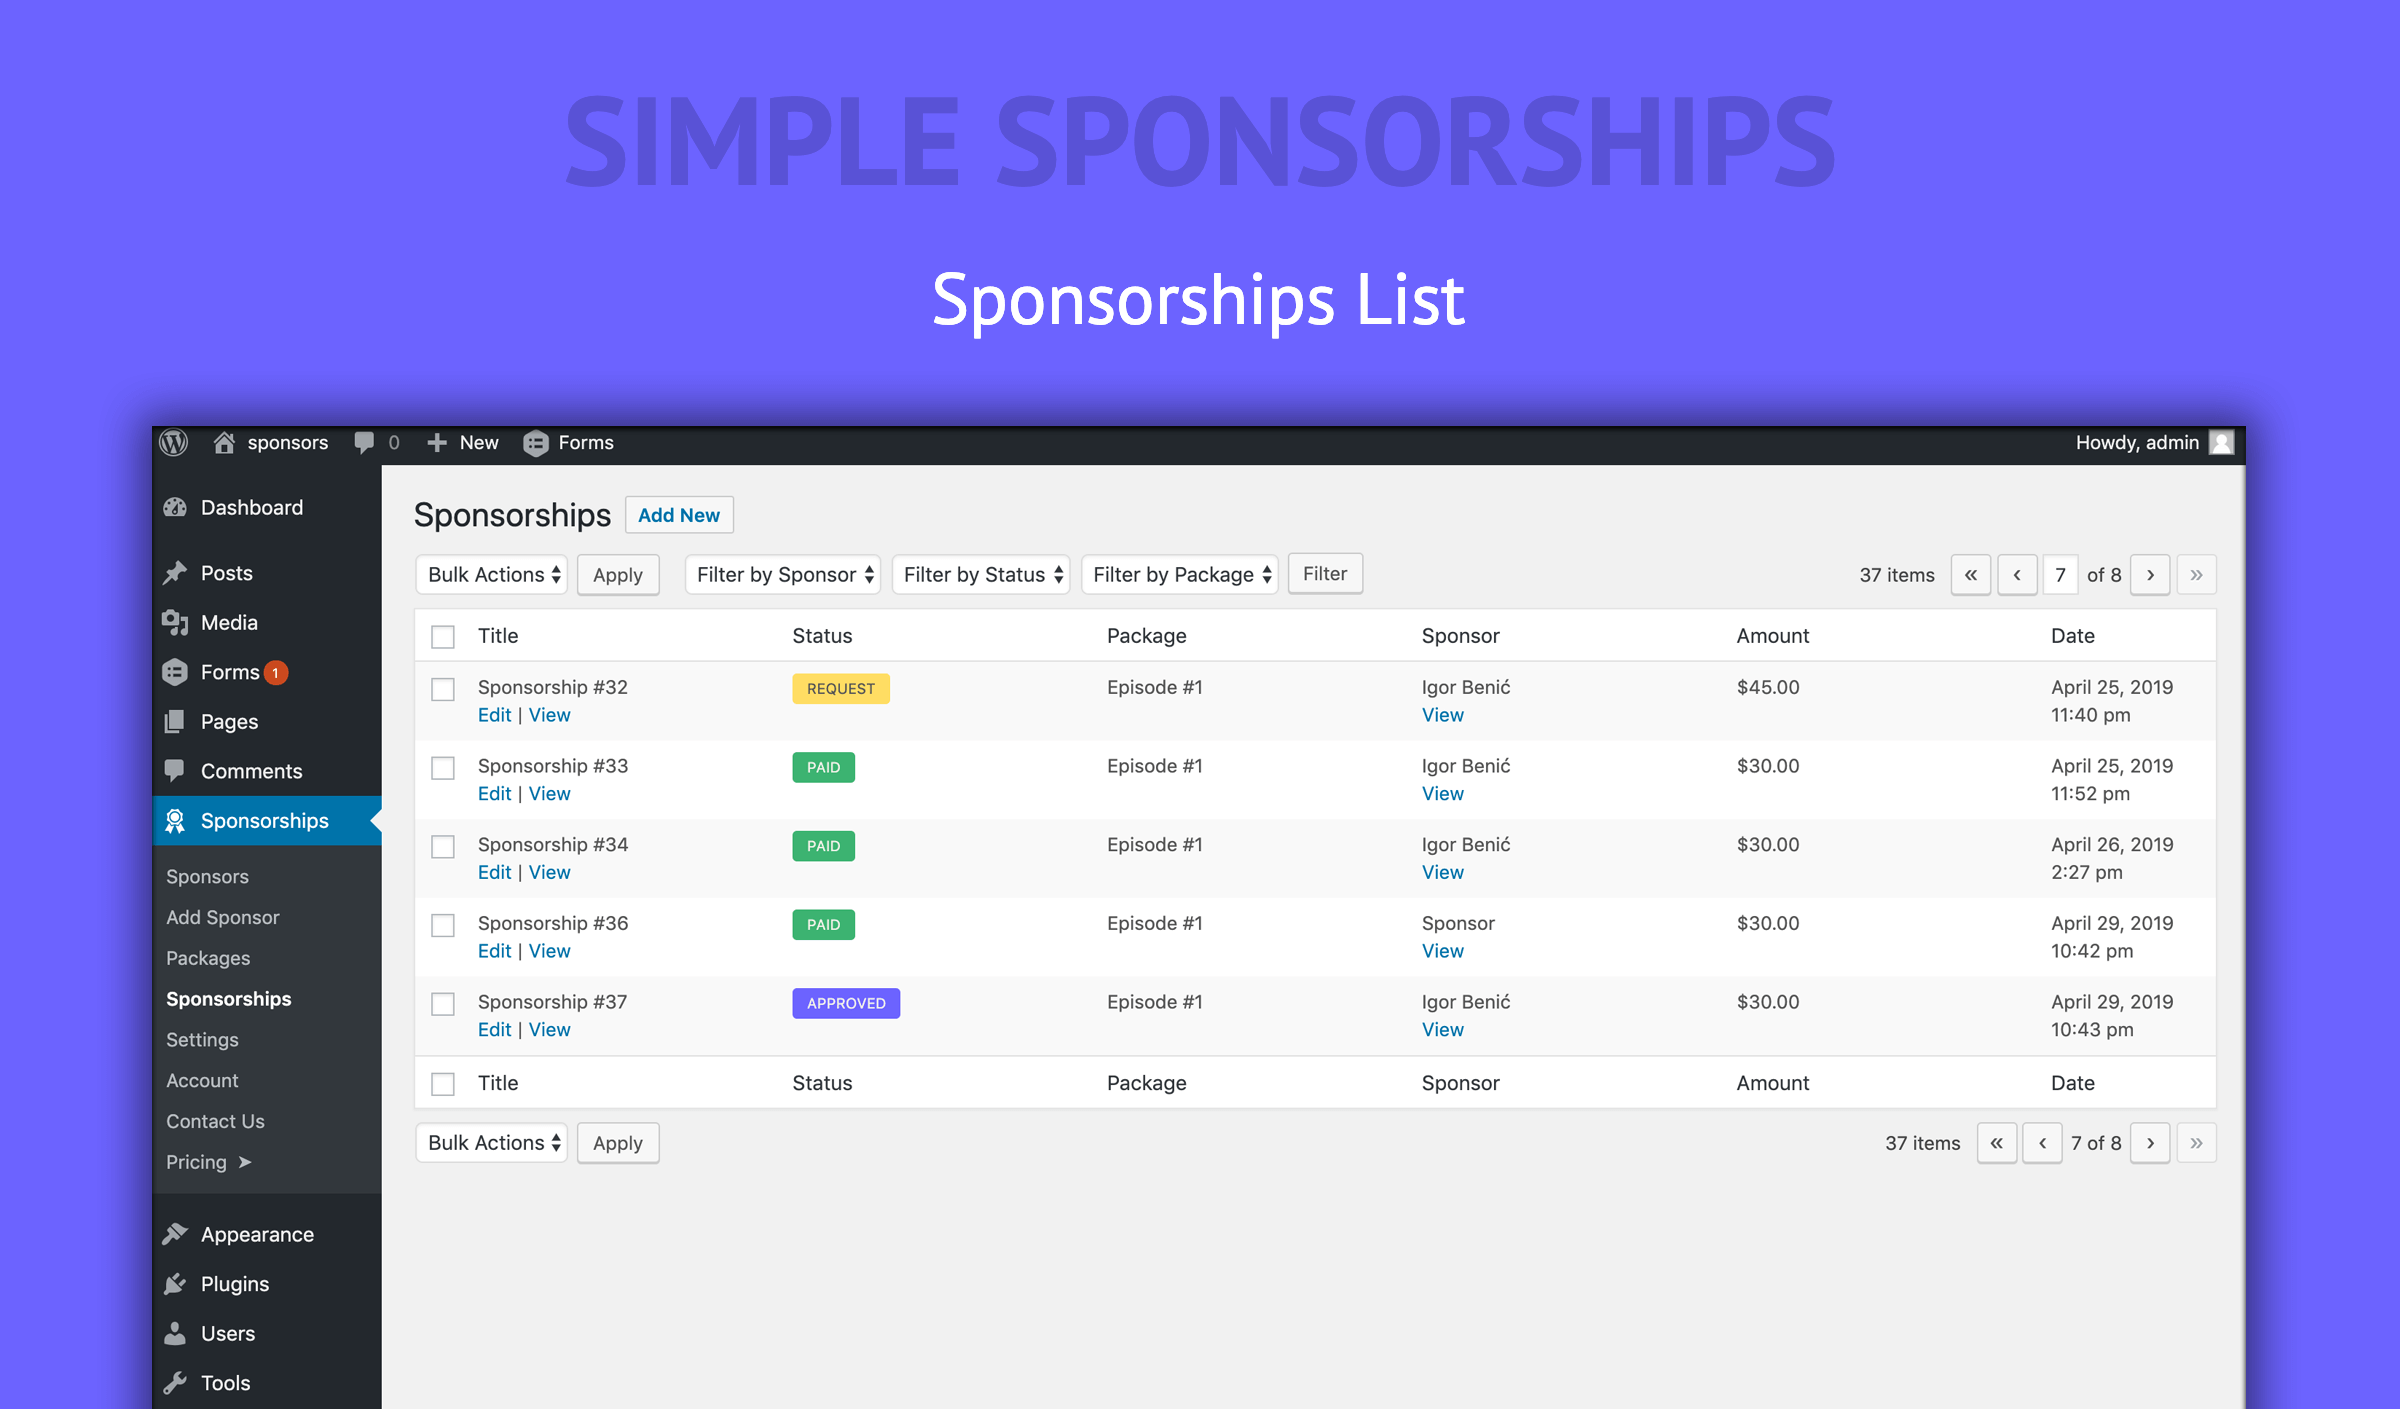
Sponsors
This plugin helps you quickly and easily add images, logos, links, and other relevant information to your WordPress website—no need to worry about the text editor anymore. Trying to place logos and information appropriately, trying to arrange images and types, this plugin does all the steps for you.
This plugin has a widget that allows you to place your WP partner logos in any widget area of the site, be it a sidebar, footer, or anywhere else.
Backers also have a ready-to-use Gutenberg block automatically added to your block library once the plugin is activated.
If you need to add sponsor logos quickly, easily, and directly to WordPress, this plugin is definitely for you. Let’s get everything set up and check how to add a financial sponsor to your site.
How to Add Sponsors to WordPress Plugins?
Step 1: Install and activate the plugin
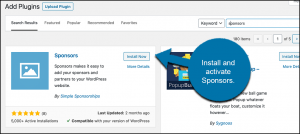
To start adding sponsors to your WordPress site, you must first install and activate the plugin. To do this, go to the Plugins page in your WordPress admin dashboard.
Use the search field to search for the plugin name. When you see the appropriate page, install it and activate it directly from there:
Step 2: Add categories
After installing and activating the plugin, you must first add categories before adding sponsors. Adding categories will help you display sponsor logos and information in specific places.
If you don’t add categories, all your logos and sponsor information will appear in one place, no matter what.
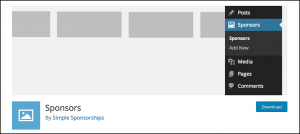
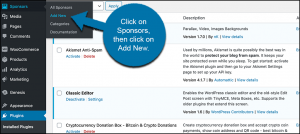
To add categories, click on Sponsors > Categories, located on the left side menu of the dashboard. You can see that after installing the plugin and activating it, there is now a Sponsors Links tab:
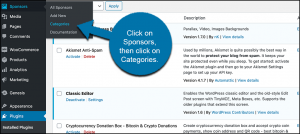
This will take you to the sponsors’ category page. This is where you add your categories so you can attach one to each sponsor you add over time.

Go ahead and add as many categories as you need and let’s continue.
Step 3: Add a new sponsor
Now it’s time to add a new sponsor. To do this, click on Sponsors > Add New. Again, this is on the left side menu of the dashboard:
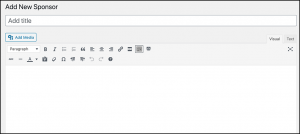
This will automatically open a sponsor editor where you can add all the relevant information you want.
First, go ahead and add the sponsor’s name and any relevant information you want to display:
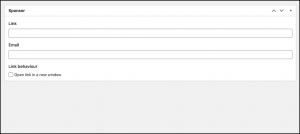
Now, scroll down a bit and add the link (if necessary) and the sponsor’s email:
Finally, go up and add the sponsor logo to the editor:
![]()
When you are ready and have all the information you need, go ahead and publish the sponsor.
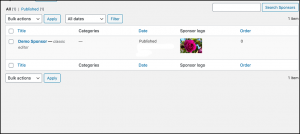
If you click on “All sponsors,” you’ll see a list of all the sponsors you’ve created over time:
Repeat the above process to add as many sponsors as you want and categorize them as needed.
Step 4: Create a list of sponsors with the widget
At this point, you need to add some sponsors. You can easily add them to any widget area of your WordPress website.
In the left menu, click on Appearance > Widgets:

Once you’re on the widgets page, scroll down to see the “Sponsors” widget:

You can drag and drop it to any website widget area you want.
Step 5: Add a sponsor to the page
Finally, if you want to add a sponsor to a page, the process is very easy. This plugin comes with a Gutenberg block.
Click on Pages > Add New in the left menu:

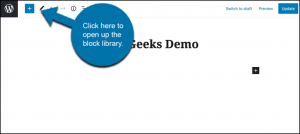
Once you have your new page open, you can add the correct block. Click the blue + icon to open your Gutenberg block library.
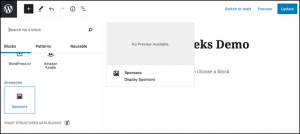
Scroll down in your library until you come across the sponsor block that has been added. Click it to add it to your page:
You will then see a list of your WordPress plugins. In this case, I just added one so you can see it:
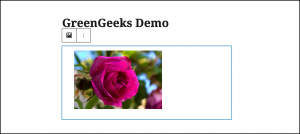
However, they will be displayed if you have more than one WordPress sponsor. Also, you can use the category filter in the block to show only sponsors from specific categories. You can also choose to display the image size, title, description, and layout with the block:

This is it! Once done, go ahead and publish the page. You can do this again to add more sponsors wherever you want.
Conclusion
Adding a WordPress sponsor and all related information to a WordPress site is not a difficult task. Instead of trying to line up the content editor, use the Sponsors plugin above.
This plugin gives you everything you need to quickly and easily add all your sponsors to a site. Use the widget that is enabled, or use the block that comes with the plugin. We hope you will benefit from this article. Good luck, and share your thoughts with us in the comments!