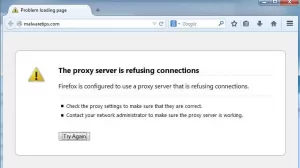
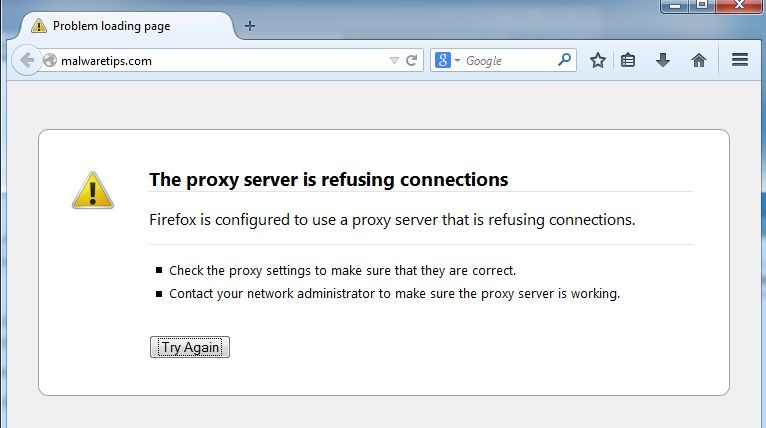
Just like Google Chrome, Firefox is used by millions of users. Mozilla Firefox has recently been doing well with the Quantum Firefox project. Internet browsers bring together several interesting features, including Adblocker, Anti-crypto miner, and… But recently, we have encountered a small number of users who receive the warning message “The Proxy Server Is Refusing the Connection.”
This warning is not just about the Firefox browser, as Google Chrome users also reported it. An email message occurs when users are loading a web page. This alert can cause users to have trouble opening their web pages.

So here we have an article that talks about fixing this error on Firefox and Chrome browsers. But before we get into the problem, it’s best to get acquainted with how proxies work and their effects on-page search.
How does a proxy server affect page search?
We should know those proxy servers are like the VPN programs we use. The proxy server acts as an intermediary between the server and the computer. You are visiting technical, so the proxy server is inserted between the technical servers and your computer. This way, the technical server will receive the IP address of the proxy you are using instead of the original IP address.
As we said, a proxy server is very similar to a VPN. After all, it is mostly used because it hides the identity of each user. However, many malware has filled the domains and add-ons on the web that involve proxy settings. This is where the problem starts, and users are constantly receiving the mentioned alert.
How to fix the proxy server connection problem?
1. Through the browser itself
The easiest way to fix a proxy server connection problem is to reset the proxy settings. In Firefox, users have the option to reset proxy settings, and you can do this by following these steps:
Step 1 – Open your Firefox / Chrome browser and click on the three vertical lines.
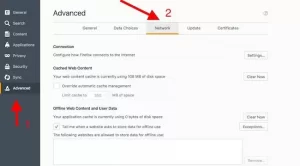
Step 2 – Then select the desired option, and later the same option will open another window. Select the “Advanced” option in the next window and go to “Network.”

Step 3 – You will now see another window. You need not select the “Connection” option and click on “settings.”
Step 4 – Under Connection Settings, select “No Proxy” and click “OK.”
This is it! Are you done! Here’s how you can reset your Firefox browser proxy settings. If you have another problem, you can raise it with us in the comments section.
2. Check the PC Lan proxy settings
Well, some ISPs need to use a proxy server. So if the above method did not work to fix this problem, you need to check if your computer proxy settings have changed. Few software and VPNs often change your computer’s proxy settings, which can cause such problems.
Open the Start menu and look for Configure Proxy Server. Could you open it and click on the Connection tab? If your ISP does not require a proxy server, the settings will be set to “Automatically detect settings.”
But if your ISP needs a proxy server, you have two options – use the automatic configuration script and the proxy server for your LAN. If your ISP needs to proxy the device automatically, then the address field will be filled in after the “automatic configuration script.” You need to check the checkbox to fix the error message.
3. Use AdwCleaner
Download it here
As mentioned earlier in this post, error messages occur due to many additional extensions and add-ons. Have you recently installed a branching tool? Or any coupon server? If you can not accurately detect the range or add one, you can use AdwCleaner.
AdwCleaner effectively scans and removes PUPs and adware from your computer. It can also clean up web browsers. Therefore, here you will see how to use AdwCleaner to fix the problem of proxy server disconnection.
Step 1 – First of all, install AdwCleaner. This program is a small tool and needs less than 20 mg to be installed on your computer.
Step 2 – After installing the program, open AdwCleaner and click on “Scan.”
Step 3 – Now wait for AdwCleaner to complete the scan. If your web browser is infected with adware of Pups, this tool will list them all. Click on the “Clean” option to delete all the files.
Step 4 – Once the deletion is complete, AdwCleaner will ask you whether to save any of the open files. This tool will then restart your computer.
This is it! Work is finished! This is a way to fix the problem using AdwCleaner.
Reset network settings
If all of the above did not work to solve the ‘Proxy server refusing connection’ problem, You need to reset all the Windows 10 network settings on your computer. If there is a problem with the network settings, no browser will be able to connect to the Internet. Follow some simple steps below to reset your network settings on your Windows 10.
Step 1 – Right-click on the Windows option and select ‘Command Prompt (Admin).’
Step 2 – This option will open the commands section.
Step 3 – In the window that opens, you need to enter the following commands:
Restart your computer when you have done this. After restarting, open your web browser and open sites. In this case, you will no longer receive the relevant error.
This content is related to solving the problem of proxy connection of different web browsers. If these methods do not solve this problem, the final step is to reinstall your web browser. If you have any other questions or concerns, please let us know in the comments section.
Important Note: If the problem is resolved in the browser and other applications such as WhatsApp, messengers and the problem persists, it is enough to create a new access point

