What Is cPanel? Pros and Cons + How to Use It
cPanel is one of the most popular control panels among web developers and hosting companies. It is typically paired with WHM (Web Host Manager) – both components work hand-in-hand, each playing separate roles. Web Host Manager provides administrative control over the server. In addition to server configurations, WHM creates multiple accounts and manages more than one website.
Furthermore, the cPanel dashboard provides various web files, MySQL, statistics, data tracking, and SEO features. It is no wonder that cPanel is one of the most popular control panels among web developers and hosting companies.
To specify, when a hosting provider manages a server with WHM and creates cPanel accounts for their customers, this practice is known as cPanel hosting.
If you want to know more about cPanel hosting, keep reading. This article will go over the pros and cons of cPanel along with the steps of using it. In case cPanel is not suitable for you, we will name its alternatives that are just as useful
cPanel Hosting with Hostinger
What Is cPanel Hosting?
cPanel hosting is essentially Linux-based web hosting that includes an installation of cPanel. The hosting plan provides a cPanel account to control your web hosting elements.
With that in mind, cPanel can be used in different types of hosting, including shared, dedicated, and managed WordPress hosting.
This control panel is a good choice for beginners looking for a straightforward control panel solution. However, like other hosting control panels, cPanel has benefits and drawbacks.
Pros:
- User-friendly interface. The cPanel interface categorizes various features under manageable modules, allowing users to locate them quickly. The cPanel dashboard also comes with intuitive menus and graphics for smooth navigation.
- Highly compatible. As one of the most popular control panels, cPanel is compatible with several web browsers, including Google Chrome, Safari, and Mozilla Firefox. Additionally, cPanel supports many third-party applications, including site builders and SEO tools.
- Wide range of features. Requiring no advanced technical knowledge, cPanel lets users perform complicated tasks such as creating subdomains and FTP accounts, managing MySQL databases, and generating site backups.
- Automatic software installation. Not only does cPanel provide numerous features, but it is also well-integrated with the Softaculous Apps Installer. It grants access to over 400 applications, including popular content management systems. Softaculous takes care of each application’s whole lifecycle, from installation to updates.
- Reliable support. The cPanel forums and blogs contain plenty of resources. Dedicated technical manuals for both cPanel and WHM are also available. They explain how to use and solve issues with cPanel products.
Cons:
- Security vulnerability. Research shows that cPanel’s two-factor authentication (2FA) method is vulnerable to brute force attacks. To prevent this, always make sure your cPanel version is up-to-date.
- Costly license. cPanel has the highest license cost compared to its competitors. Thus, if you’re only managing a website, a cPanel hosting plan can be cheaper as the web host will lend you their cPanel license.
- Risk of data loss or corruption. Sometimes, the cPanel system accidentally overwrites server settings and removes all data during significant updates. This happens due to a crashed or failed hard drive. In such cases, try to perform a full disaster recovery to restore your web server.


C Panel Tutorial: How to Use C Panel
Now that you know the pros and cons of cPanel, it’s time to learn how to use it. Before jumping into the first cPanel tutorial, we will review the different ways to access it.
Generally, most hosts will include a direct link to the cPanel dashboard in the welcome email. However, if no connection is attached, you can log into your cPanel account via the browser’s address bar.
If your site address begins with HTTP, add 2082 at the end of the URL. For a site address that starts with HTTPS, write 2083. For example:
- http://your-site-address.com:2082
- https://your-site-address.com:2083
Access the URL, which should take you to the cPanel login page.

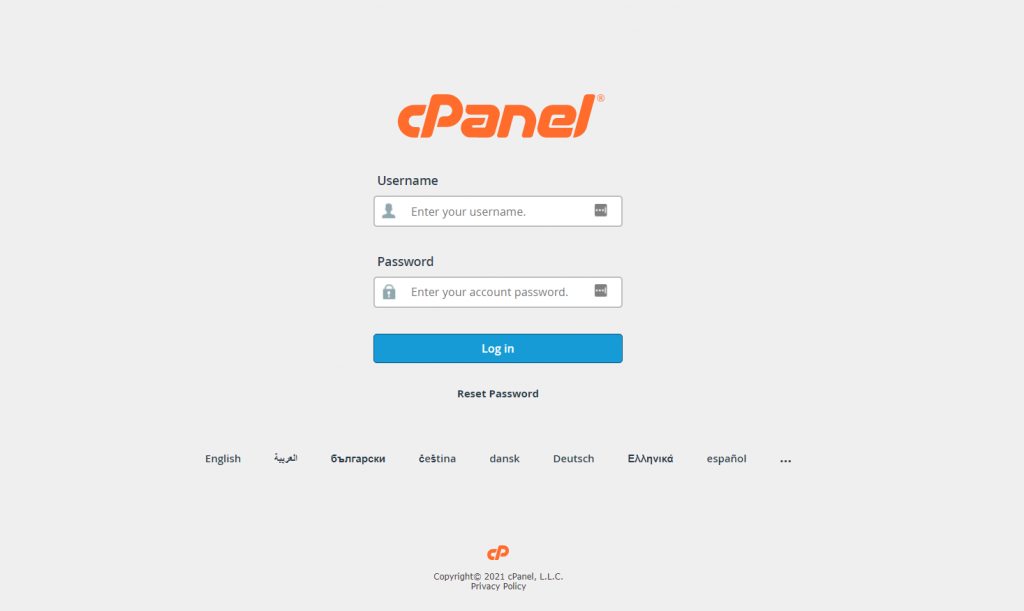
Type in your cPanel username and password, and click the login button. Once you’re inside the control dashboard, you should see various modules and features.
We will explain each section along with the main functions.
Files

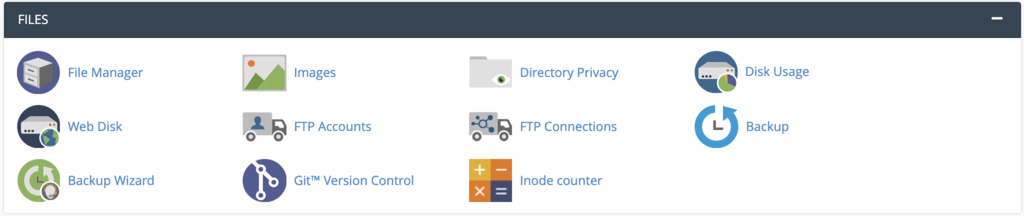
The Files section contains features for direct file management. This section allows you to upload files without an FTP client, specify privacy levels, and set up a backup wizard.
Using File Manager
cPanel includes an easy-to-use file manager that works like desktop file explorer applications – users can easily edit, remove, or add files and folders.
Clicking the File Manager button will take you to the page listing all your website files.

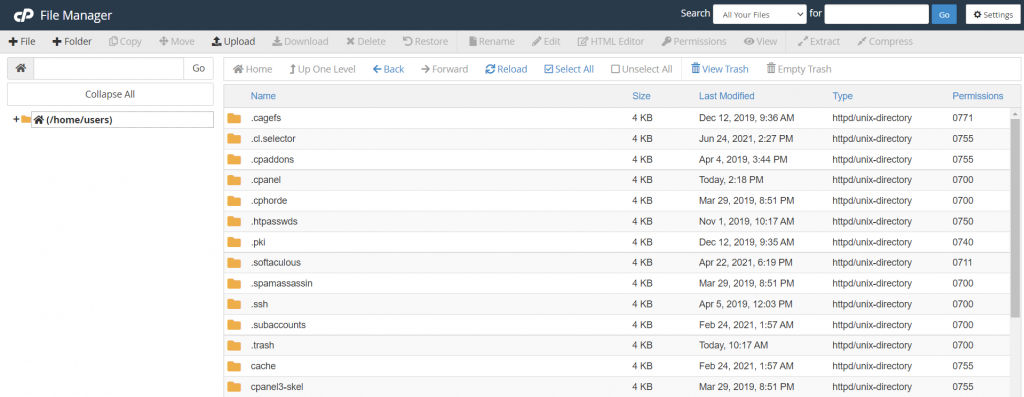
You can perform various actions from there by clicking the respective menu button. For example, if you want to move a file, select one and click the Move button. This will trigger a prompt – fill out the new path and click the Move File(s) button.


Remember that every file in cPanel can affect your server, so be careful when modifying them to prevent any site errors.
Preferences

This is where you can configure the various aspects of the cPanel dashboard, such as language, theme, and user information. The module also includes features to add a new cPanel account and manage the password.
Storing Basic Information
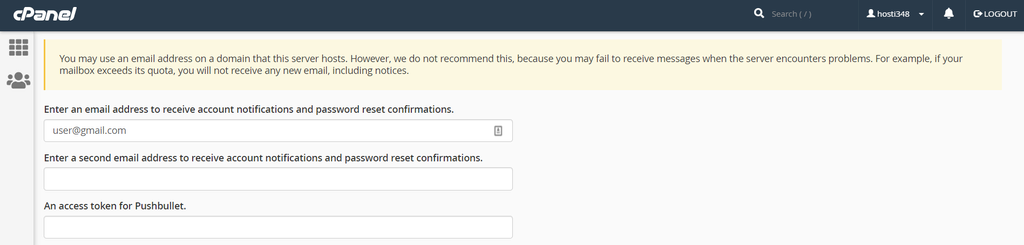
One of the most essential features of this section is adding your contact information. Use the Contact Information application to store your contact information and preferences.
Start by including your email address in the provided field – the system will notify you of any activity in your account, like reaching your mailbox and bandwidth quota.
Then navigate to the bottom of the page and check the boxes based on your contact preferences. For example, click on the respective box to get notified when your email address is changed.
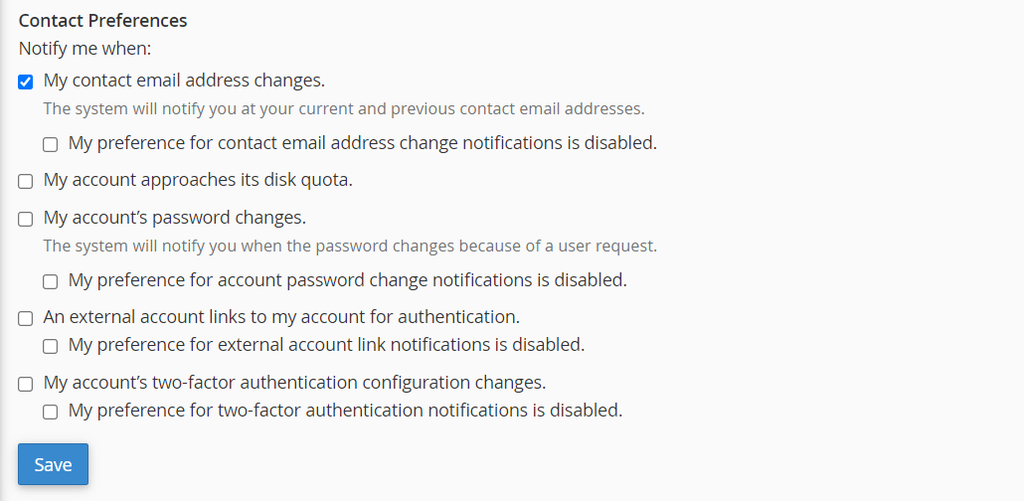
Check the boxes to receive notifications about specific circumstances. Be sure to click Save when you’re done.
Databases

If your website uses a content management system (CMS) like WordPress, it will need a database to store all the essential data and information, such as usernames, passwords, and posts.
This section is about managing the databases – its tasks are mainly done via MySQL Databases and phpMyAdmin.
Create Databases and Manage MySQL Users
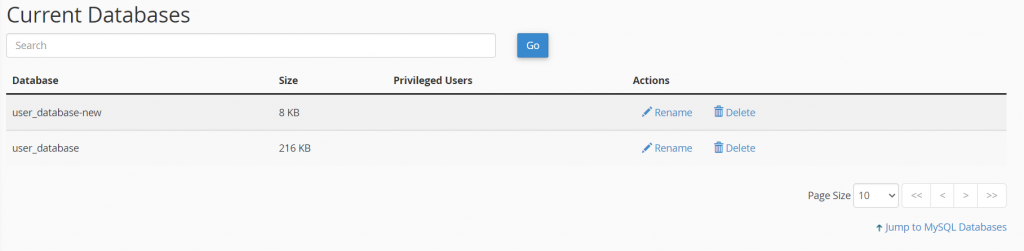
Click on MySQL Databases. Enter your desired username in the New Database section and click Create Database.

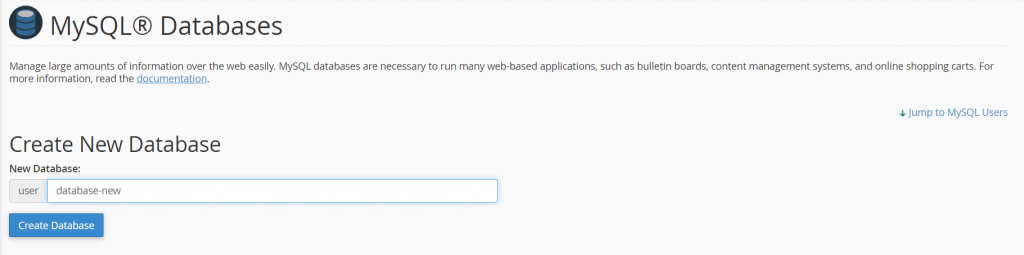
A new database will be added to the Current Databases list.

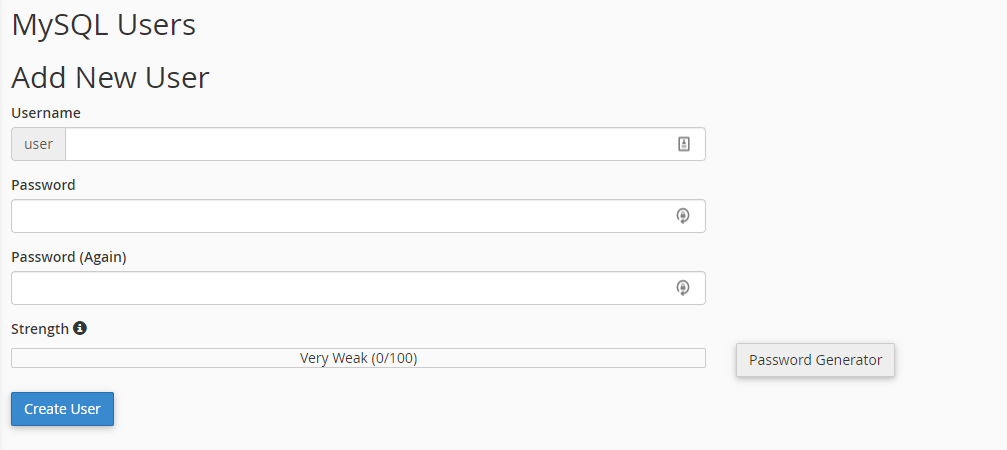
To add a new MySQL user, scroll down to the Users section. There, enter the username and password and click Create User.

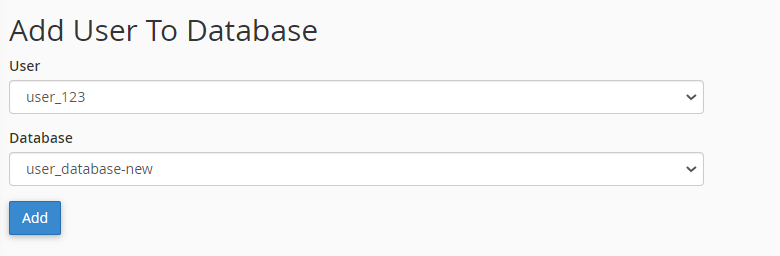
When you’re done, navigate to the Add User To Database section. Click on the dropdown menu and choose the new User and database, granting the user access to the selected database.
Once you’re done, you can start importing your files into this new database via phpMyAdmin. To ensure reliable site performance, try optimizing your database.
Softaculous Apps Installer

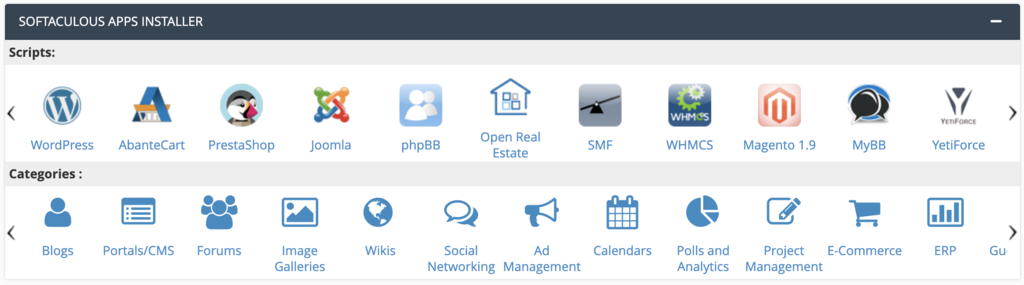
Softaculous is a script library that automates the installation processes of various applications. The most popular software includes WordPress, phpBB, Joomla, and Drupal.
Thanks to the seamless integration with cPanel, you can directly install any software from the dashboard.
Install Software With Softaculous
Start by selecting the script you want to install. If you can’t find the software under the Script section, browse the categories.
In this example, we will show how to install WordPress – continue by clicking its icon.
Important! Before installing WordPress, read the requirements to ensure you have the necessary resources.

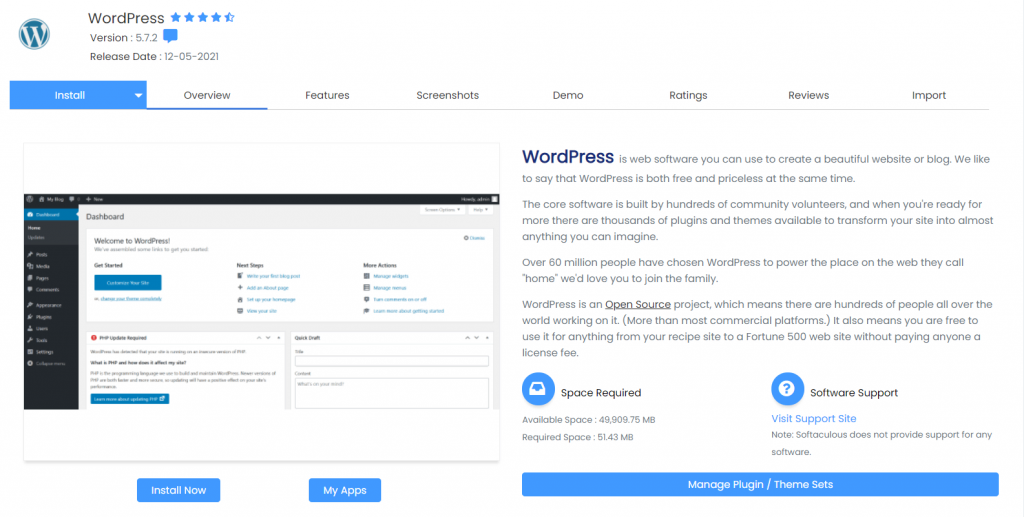
Clicking the Install Now button will prompt you to configure the software setup and site settings.
Choose the installation URL and specify the options for your WordPress website. Additionally, you can create an admin account, select a free WordPress theme, and pre-install multiple plugins.


Once you’re done, click Install to start the WordPress installation process.
Software


Generally, your web hosting will set up a dedicated section for the Softaculous Apps Installer. However, you can also find the auto-installer under the Software section, along with other scripts and applications.
Since this section mainly deals with programming languages, such as PHP, Ruby, and Perl, it is primarily used by advanced users.
That said, if you have a Cloudflare account, you can sign up and enable it here.
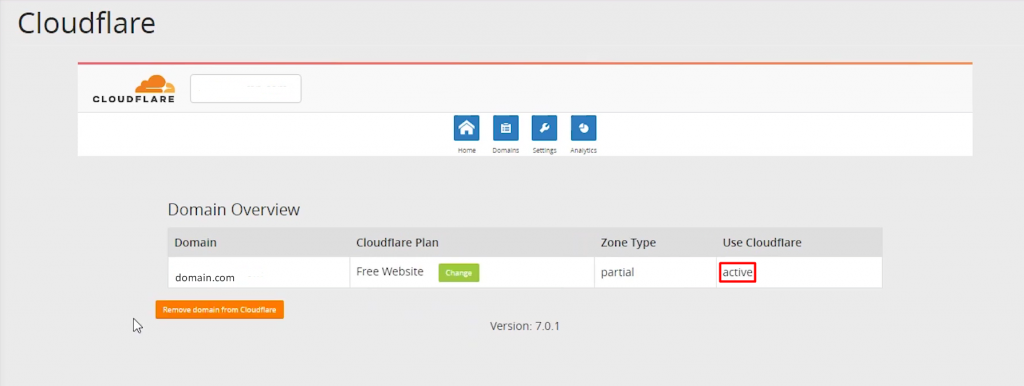
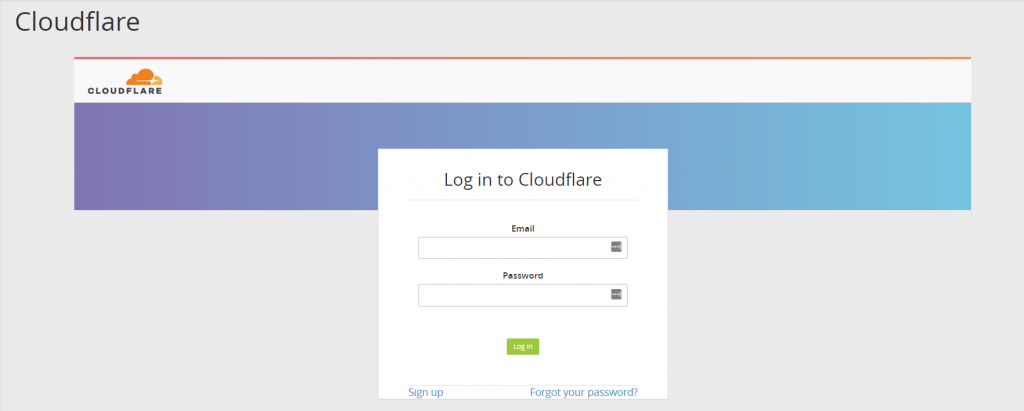
Setting Up Cloudflare
To set up Cloudflare for your website, click the Cloudflare icon and enter your credentials to sign in.

Once logged in, click the Domains option to see a list of active websites with their DNS details.
The easiest way to set up Cloudflare is by adding the CNAME records. This will point a subdomain to your primary domain. Go ahead and click the Provision Domain with the CNAME Setup button.

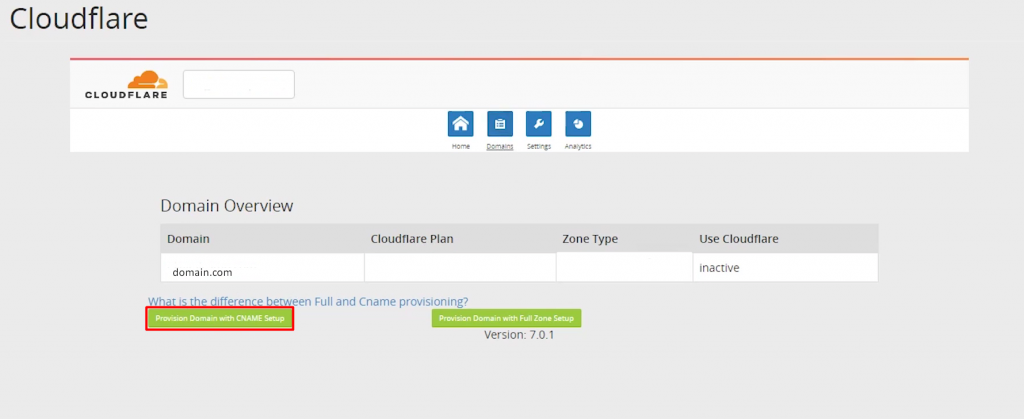
This will change the status to active, enabling Cloudflare on your website.