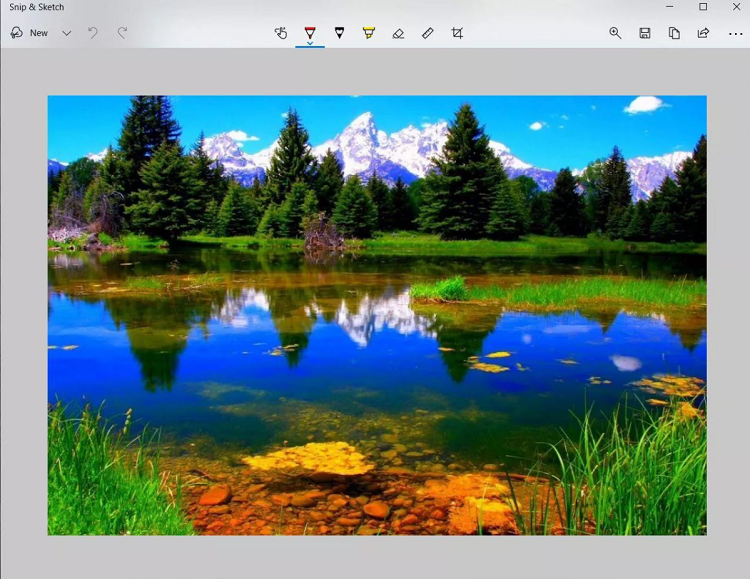
Taking screenshots is a quick way to save part or all of the screen. Fortunately, taking screenshots in Windows 10 is simple and can be done in several ways.
How to take a Screenshot in Windows 10
You may want to take a Screenshot of a part of Windows or a page in your browser and share it with others. Windows 10 offers many ways to take screenshots according to your needs and convenience.
Browsers have a tool for taking screenshots of web pages, But it will certainly be easier to use this feature in Windows 10.
To take screenshots in Windows 10, there are two built-in tools, Snip & Sketch and Snipping Tool, as well as many keyboard shortcuts. Microsoft introduced the Snip & Sketch tool for taking screenshots in Windows 10 two years ago, but a recent change in this tool has improved it.
In this article, I will teach you 7 ways to take screenshots in Windows 10. These methods include Windo10’s 10 built-in methods and several other shortcuts.
Screenshots in Windows 10 with the Snip & Sketch tool
Images, sharing, and annotations are easier to access using the Snip & Sketch tool than the old Snipping Tool. Indeed, after trying this tool, you will no longer think of using the Snipping tool.
The easiest way to access this tool is by using the shortcut buttons Windows + Shift + S. You can also find the app in the alphabetical list of the Windows Start Button or search for its name. You can also access it in the notification panel by searching for Screen Snip.
If you frequently need to take screenshots, we suggest you pin this tool to the Windows taskbar for your convenience.

After selecting the expression, the screen darkens slightly. The tool pops up and lets you choose between four options: rectangular, free-form, window, or full-screen.
After taking a screenshot, the photo is saved in the clipboard and displayed as a notification in the lower right corner of the screen.
Click it to open the photo in Snip & Sketch so you can write, save, or share it. Open the notification panel if you miss or do not see the screenshot notification.
If you open the Snip & Sketch expression from the Start menu or by searching, the tool will open in a window instead of the top bar. In this window, click the New button at the top left to open a small panel that lets you take screenshots.
This adds a step to the screenshots, but you can take screenshots from this window with a 3—to 10-second delay from the screen (like setting a timer to take a photo).
Take screenshots of Windows 10 with the Snipping Tool
Snipping Tool has been available since Windows Vista. However, Windows has warned users for years to remove this tool, But this tool remains in place. Note that this tool has been removed from the Start menu but can be found in the search bar.
Click the New button to take a Screenshot. The default Screenshot mode is rectangular, which you can change manually or on full screen. Note that the Snipping Tool automatically saves the Screenshot to the Clipboard but does not save it as a File on the computer.
So, to save it, you have to use another tool or app, like Microsoft Paint, to paste the Screenshot and then save it in the desired location.
Screenshot in Windows 10 with Print Screen
To take full-screen screenshots in Windows 10, you can use the Print Screen or PrtScn button on the Keyboard. With the Keyboard, screenshots are keyboarded in the Clipboard but not stored as a File on the computer.
To save screenshots this way, you need to use an image editing tool such as Microsoft Paint to paste the photo and then save it to your desired location.
When pressed, you can set the PrtScn key to launch the Snip & Sketch tool. To do this, go to Settings, Ease of Access, and then Keyboard and enKeyboard Use the PrtScKeyboard to open the screen snipping option below the Print Screen shortcut.
Screenshots in Windows 10 with “Windows and Print Screen” shortcut buttons
You can use the Windows shortcut and Print Screen buttons to capture and save screenshots in Windows 10 automatically. When taking a Screenshot, the screen dims (such as when taking screenshots on some smartphones). Screenshots will be saved in the Pictures> Screenshots folder.
Screenshots in Windows 10 with “Alt and Print Screen” shortcut keys
You can use the Alt + PrtScn shortcut keys to take screenshots of an active window quickly. Screenshots will be saved in the Clipboard, and you will need the help of a photo editing program to save them as a File.
Screenshots in Windows 10 with the help of Game Bar
It does not matter if you are playing; You can always use the Game bar to take screenshots in Windows 10. To do this, press the Windows key + G. Here, you can use the Game Bar Screenshot or Windows + Alt + PrtScn buttons to take a full-screen image.
To set a Screenshot shortcut in the Game bar, go to Settings, Gaming, and then a Game bar. Note that to use the Game bar, you must enable the Record game clips, screenshots, and broadcast using the Game bar option.
Screenshots in Microsoft Surface
If you use a Microsoft Surface, you can take screenshots using a combination of physical buttons (like on smartphones).
Hold the touch button on the Windows logo at the bottom of the Surface screen and press the physical volume down button to do this. The dark screen and photo are saved in the Pictures> Screenshots folder to show screenshots.
FAQ
screenshot