

How Can You Buy Used Parts To Save Money And Not Regret Buying Such A System After A While? Let’s Take A Look At The Steps To Checking The Health And Testing Of Second-Hand Computer Components.
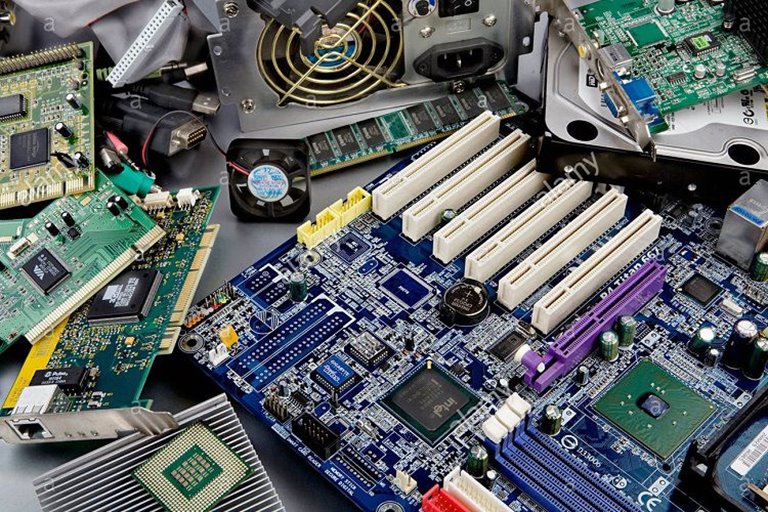
Second-Hand Computer, One of the biggest advantages of a desktop computer is purchasing and supplying components separately, leaving users free to customize and select based on different priorities. For example, office PC systems with mid-range components without a separate graphics card are quite efficient, but content production PCs require high-end processors and memory. The game’s priority is to select and spend with the graphics card, usually the most expensive component, followed by the processor, memory, and storage.
However, the personal purchase of these parts can be challenging depending on the circumstances, both in terms of cost-effectiveness and overall budget constraints, which should be considered as required by financial circumstances if there are economic conditions, market conditions, and fluctuations in the dollar exchange rate, which will be very influential factors and will make buying more difficult.
Advantages and Disadvantages
Benefits of Buying Used Computer Parts
- Save money.
- Buy stronger parts at a lower price.
Disadvantages of buying second-hand computer parts
- Relative wear and tear depending on the type of operation and hours of use.
- Difficulty testing and ensuring the health of some parts.
- Reduction of the warranty time of the part or its expiration.
- Less software support than newly released components.
- In principle, some parts should not provide second-hand.

Which parts can be made second-hand?
- Processor (CPU)
- Main memory (RAM)
- Graphics Card (VGA)
- Body (Case)
Depending on the physical health and careful examination of the function, these parts can provide second-hand by accepting a percentage of health risk:
- Power Supply ( Power Supply ): Power supply After the analysis function provides the maximum rated power are listed for less. Therefore, you must be careful that its power is still sufficient to respond to the system’s operation, and of course, all its output voltages are within the normal range. Simply put, the power supply is 100% healthy.
- Motherboard (Motherboard): identify the problems big and small, sometimes hidden motherboard is not always easy. There may be some problems in normal use that are discernible only after several months of operation. Here, the use and implementation of stress test software are more necessary than ever, which we will discuss in the following sections.
- Display (Monitor): Depending on the type and quality of construction, after several years of use, they may lose their color quality and transparency after several years of use.
Which parts should not be used second-hand?
- A solid-state drive (SSD)
- Hard disk or the same as a hard disk (Hard Disk)
- Keyboard, mouse, and similar accessories
Check the physical health of the parts
The first step in buying second-hand computer parts is to check the physical health of the components and their appearance. For each of the main parts, there are some points to keep in mind when considering their appearance:
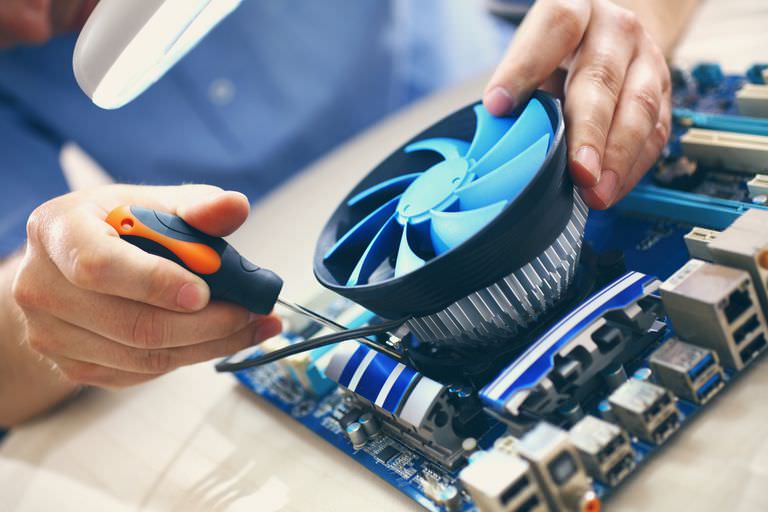
Processor
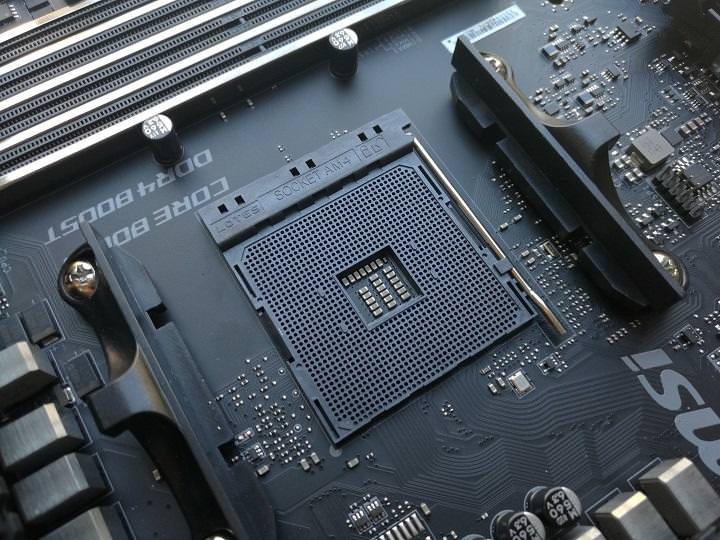

- If the CPU is of the Pin Grid Array, or PGA for short, as is the case with AMD’s Raizen series models, the connection pins are located on the CPU, and the CPU socket has mesh holes for the pins. We must check the health of its foundations, whether they are in the same direction and whether the foundations are broken or bent. The slightest bending or tilting of one or more of the bases can affect its performance, resulting in interference with performance, instability, blue-screen death (BSOD) in Windows, accidental resets, or, worse, altogether. The system loses boot capability and shows no vital signs from the start of pressing the Power button.
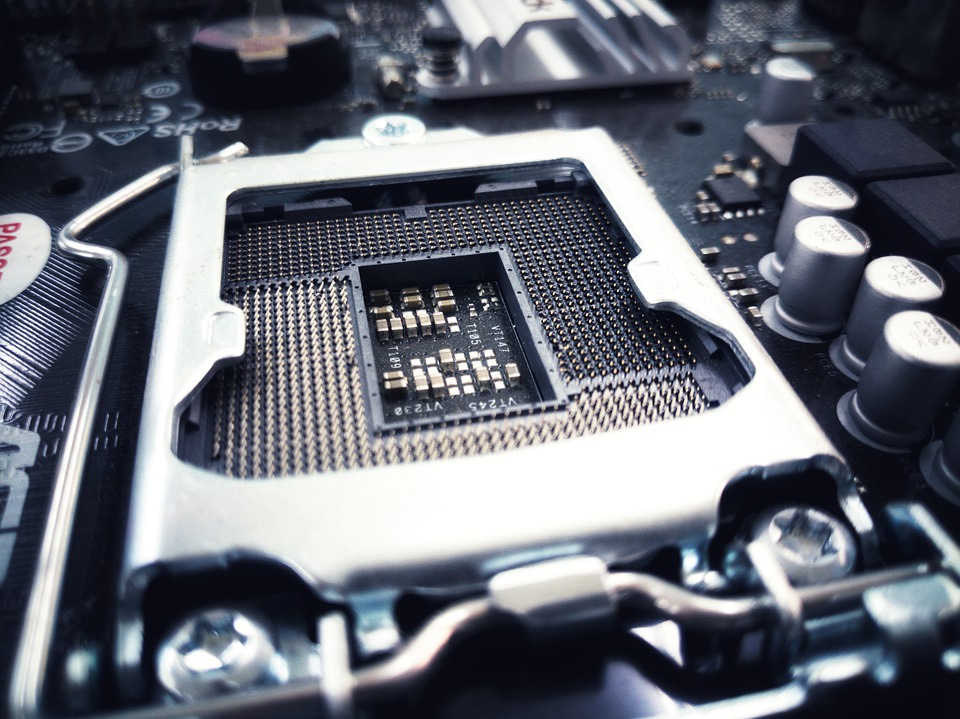

- If the CPU, like Intel processors, is pinless ( Land Grid Array, or LGA for short ), the connector pins are mounted on the CPU socket and the motherboard. The processor should check for scratches on the printed circuit board. All bases must be uniform and recognizable and must not be covered or distorted by any material.
motherboard
- The physical inspection of the motherboard due to the complexity and variety of components used on it is one of the tasks that require great care, and more time should allocate for it. If the processor socket is of the LGA type, it must be carefully inspected so that all the socket bases are intact and in line, and no bends or breaks are observed between the pins.
- The circuits around the socket, the memory slot, and the side expansion slots on the mainboard must also be visually intact. Motherboards usually have several layers. The top layer is always most exposed to damage due to impacts from tools and accessories and can cause permanent downtime and damage.
- No unusual or noticeable curvature on any part of the motherboard.
- The components on the board are visually sound, and no abnormal swelling can detect in the power supply circuit components around the CPU socket, manual soldering, and secondary manipulations.
Memory
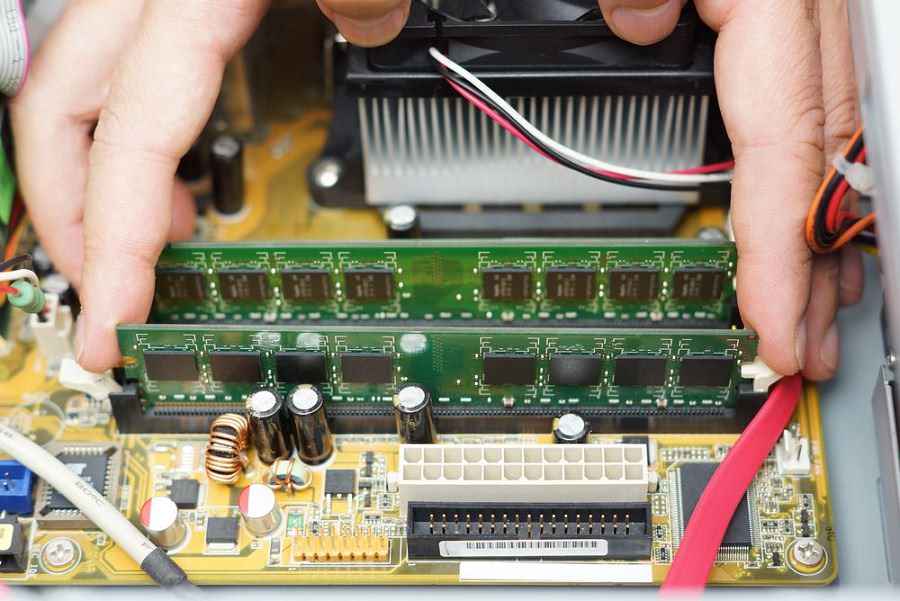

It is not difficult to check the appearance of memory chips. If the RAM modules are uncoated on the chips or heat dissipator, the least that can do is to check the appearance of the chips for any deformation, discoloration, or burn marks. But if the modules have a heatsink, they do not need to be removed, and it is enough to check the module for functionality in the next step, which is the practical test of the part.
graphic card
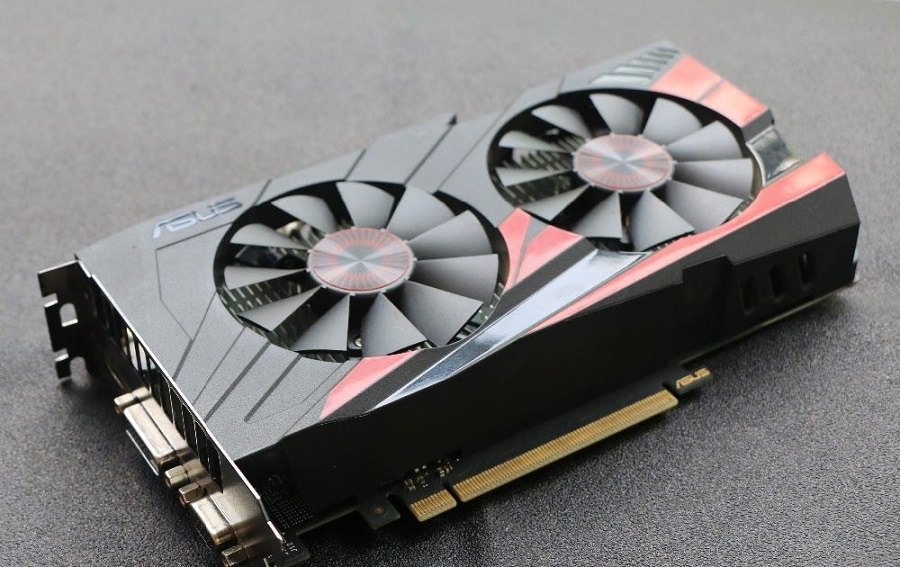

The physical examination of the graphics card needs to focus on a few points, the cooling of the graphics card should not be broken or deformed in appearance, and the back of the graphics card, if it does not have a protective plate (backplate), should not detect damage, bumps or Examine the effects of burns and soldering. Various screws are used on the cooling of the graphics card and on the back of the board, which you can check for appearance, whether they have already been opened and closed by hand tools or not. The cooler’s opening can be considered a reason to suspect that the card is repaired or rebuilt, although it alone can not be an unhealthy sign. Sometimes the users themselves try to replace the silicone paste used on the GPU chip. They are used to lower the chip’s temperature by a few degrees during loading, thus producing less cooling, noise, and heat and optimal work efficiency.
Other parts
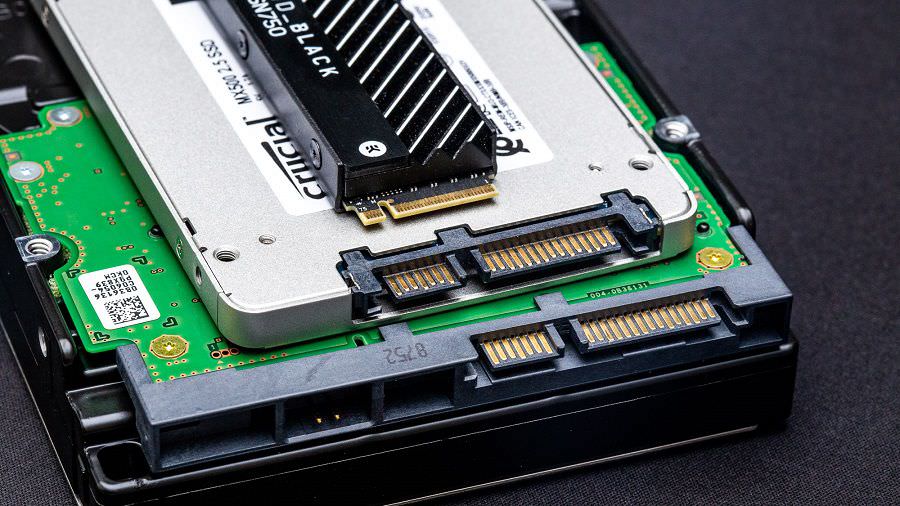

The same general rule of no deformation and no impact and impact on the body is sufficient to check other components such as SSD, HDD, power supply, and case. Especially in the case of the case because of its function and constitutes the outer part of the system, the possibility of damage after the operation is high, and bumps and scratches on the body occur during heavy use, which requires careful examination. The case’s front panel is usually made of plastic, which is more vulnerable to impact during transport, and especially in the corners should be carefully inspected.
Also, check for 3.5-inch and 2.5-inch hard drives and SSDs that the SATA connectors are not bent or broken. In the case of M.2, the health of the foundations is apparently sufficient.
Practical test of parts
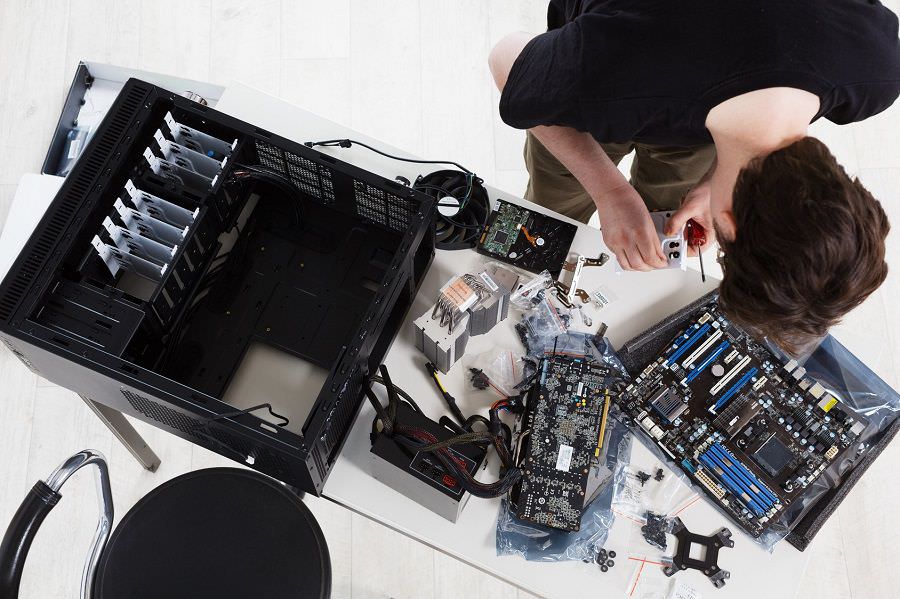
To ensure the correct operation of the parts, after the initial and appearance inspection of the parts, we come to their practical examination in working conditions. Without checking the performance and sometimes the efficiency, it is impossible to comment on the health of the parts, especially the main PC parts, because many parts that do not have the slightest problem in their appearance and physical dimensions may be defective and unusable. However, the important part of examining parts is to extract component information and then test them after assembly and be placed next to other computer components. At this stage, the parts must be assembled and ready to turn on the system so that their function can check in real conditions.
1- Checking the general specifications of the system
There is a variety of system software that is specifically designed and developed to extract system technical information. With the help of this tool, we can ensure the accuracy of the specifications of the parts announced by the seller and their compliance with what has been provided to us. The exact model of the processor, motherboard, memory, graphics card, storage, and other integrated devices such as sound cards are all components that will be fully identifiable and compatible with this method.
But some information such as power supply model, case fan model, or CPU cooling model should only obtain by relying on the component label and searching them on the Internet.
First, after turning on the system and making sure the device is booted, it is better to format the hard disk or SSD and install the operating system on it raw and clean. The process of installing the operating system can also help to some extent to identify possible problems or to understand the normal operation of the system. Before cleaning and reinstalling Windows or any other operating system, be sure to download and install the software drivers for the system components from the manufacturer’s site.
Because after installing Windows and checking the system, all its hardware components must be identified and installed by the operating system.
Some components, such as graphics cards and sound cards, will not be fully usable and testable without installing a suitable software driver. To ensure the identification of all system’s internal components in Windows, you must go to the Device ManagerSee.
All the hardware components of the system are listed here. The appearance of any yellow exclamation mark is a sign that a specific driver for one of the system components is not detected or installed, which should be fixed by installing the software driver.
Here’s a look at some of the most popular, practical, yet accessible tools on the Internet and common software packages on the market:
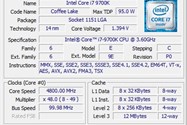
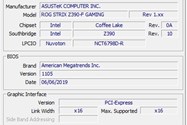
- CPU-Z is a compact software that contains a database of hardware identifiers of various processors and motherboards built for PCs and is updated periodically. Therefore, this tool can detect and list your motherboard and main memory in great detail with a very high percentage of CPU models. It even has a section for measuring the processor’s efficiency (so-called benchmark) and comparing it with the score of similar and different processors, which can help the user ensure the normal operation of the processor in the current composition. Understanding the manufacturers of these components is also easy with the help of CPU-Z.
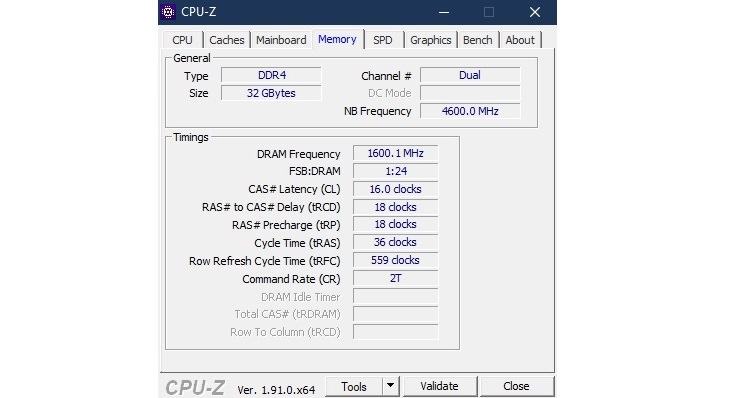


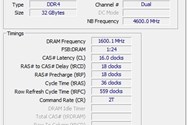
The effective memory frequency for all DDR modules is always twice that of the DRAM Frequency listed in the Timings section.
In Memory can have complete information about the type of memory (DDR2, DDR3, DDR4), the total size of memory modules, the actual frequency RAM, and schedule (timings) to access memory addresses above. Note that the “effective frequency” of memory for all DDR modules is always twice that of the DRAM Frequency section in the Timings section. In fact, the effective frequency is the same frequency mentioned in the RAM model, and the manufacturers also introduce and sell memory modules with an effective frequency.
To ensure the frequency and timing supported by the memory, you should look at the SPD section in the CPU-Z program and view and record the exact model of the memory module in the Part Number section. By searching for Part Number in Internet search engines, you can ensure your actual frequency and memory specifications.
However, at the bottom of the SPD window, a Timings Table section, where the supported frequencies and access schedules are listed separately.
For example, if there is an XMP-3400 option in this table, it means that your RAM also supports the 3400 MHz frequency.
Of course, you should not expect the latest memory-supported frequency to be usable on any system with any CPU and motherboard model. This frequency depends on more advanced factors related to the CPU and the chipset model or motherboard chipset. Sometimes The highest memory frequency will only achieve in overclocking mode, which requires mediocre technical knowledge and sufficient experience working with the hardware and is beyond the scope of this discussion.
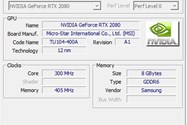
Recently, a section called Graphics has been added to the CPU-Z, which is clearly able to identify a separate graphics card model installed in the system or a graphics chip integrated with the processor.
- The GPU-Z is a similar tool designed specifically for graphics card recognition and specifications. This tool is essential, especially when you are on the verge of reviewing and buying an expensive graphics card for content production or gaming. If the graphics card you have has different models with different efficiencies and prices, this tool can not distinguish. Apart from the GPU chip model, other characteristics of the graphics card include the amount of memory, memory bandwidth, type of memory ( GDDR5 or GDDR6 and the like), and the operating frequencies of each.
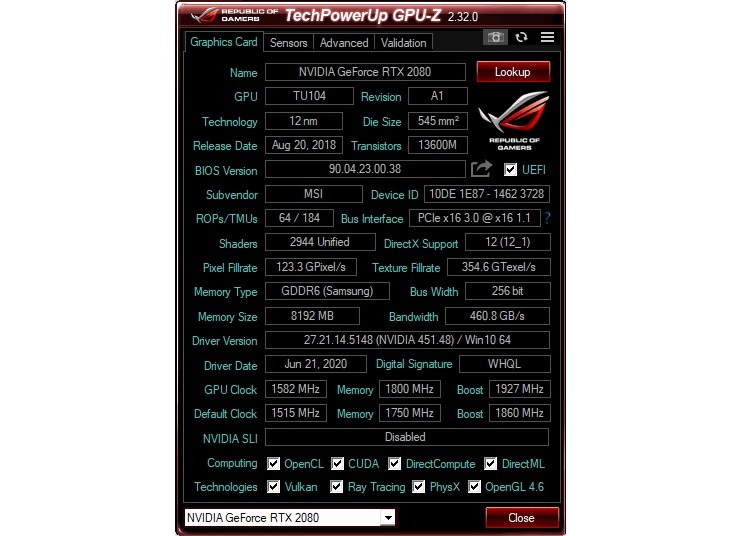

The GPU-Z has a section for detecting the motherboard graphics card bus standard, which by performing a simple graphics test, the bus standard used on the motherboard and the graphics card itself (such as PCI Express 2.0 or PCI Express 3.0 and its number of routes ( x8 or x16 which is one route) Complete depends on the standard on your motherboard and graphics card, depending on the processor model and the graphics card itself.
- CrystalDiskInfo is free system software that provides complete and accurate information about the storage installed on your computer. Display specifications of hard drives and SSDs of various types and information recorded by SMART technology are other features of this program. SMART ( Self-Monitoring, Analysis, and Reporting Technology ) is an HDD or SSD embedded monitoring system that monitors and reports various performance-related features of the drive to predict possible hardware failures and prevents sudden data loss.
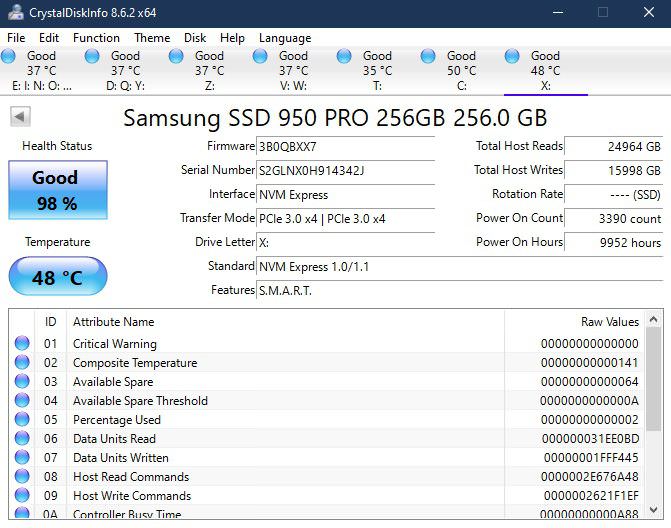

In addition to displaying this information, which includes the number of times the drive is turned on and the hours used, CrystalDiskInfo also reports the drive temperature and overall health status based on data reported by SMART.
This information is beneficial in checking the drives’ performance and helps ensure proper storage conditions, especially if it is mechanical. Also, if the system’s internal storage has not been upgraded before, the operating hours reported by this program can be considered operating hours of the whole system and can be compared with the seller’s claim about the PC’s life.
In the case of SSDs, the program also provides an estimate of the remaining life of the driver based on the drive model and the amount of data written on it from the beginning, which does not necessarily mean the failure of part of the NAND memory, but the estimated amount. Expired SSD is interpreted.
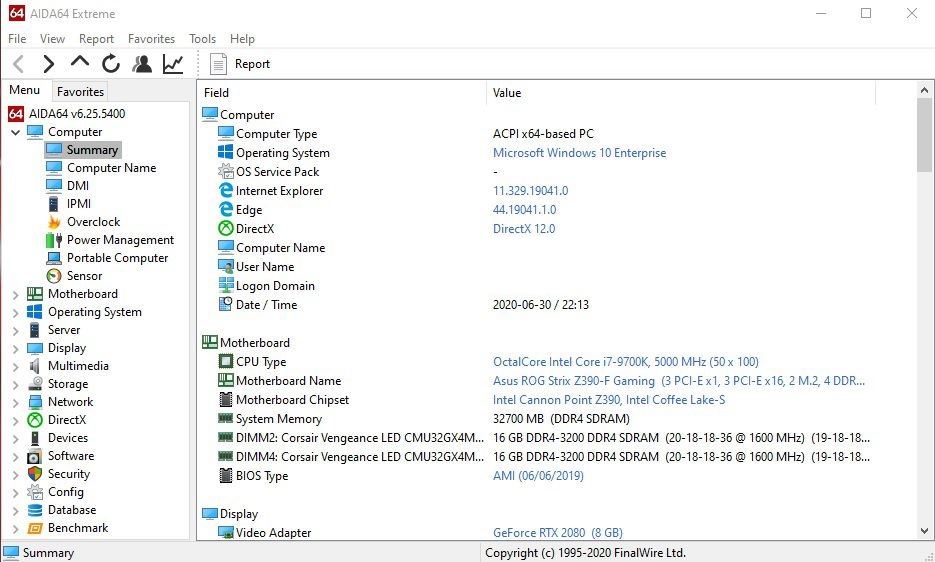

- AIDA64 is a well-known and comprehensive system software that, in addition to extracting and displaying information of all internal components of the system, also performs the work of displaying information of various sensors and testing the system’s main components to check their proper health and stability. This software is not only for Windows and is available on various platforms. AIDA64 can complement the public information extraction system used because, unlike previously introduced, programs can all be integrated into the system of check and expose. Of course, access to some features of this program is subject to purchase and use of the paid version.
After collecting the general information of the system and comparing them with the specifications announced by the seller, and after we are relieved of the compatibility of its internal parts, we reach the stage of practical testing of the parts.
2- Software test
For component testing, it may always be best to install and run used software or games of interest, but this is not necessarily the best idea for definitive conclusions over a limited period of time. The job of specialized software for testing and testing the computer’s stability is to force all or part of the system’s internal components to work at maximum power, which may not be possible if you run a software application or a particular game. In fact, not all system power may be used when running it.
Setting the system components to maximum capacity and loading 100% can help diagnose potential hardware problems much shorter, especially if we have only 24 or 48 hours to check the component’s health or used parts of the system.
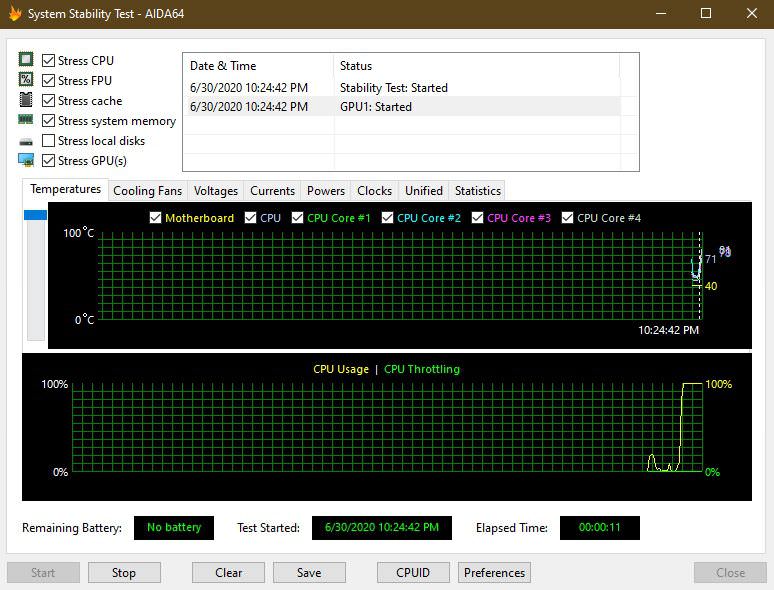

- AIDA64 System Stability Test: A subset of AIDA64 application tools is dedicated to system stability testing. This section is accessible from the top menu of the program and the Tools section. In the “System Stability Test” section, you can select each CPU, FPU, Cache, System Memory, drives, and even graphics card section separately for stability testing. Note that FPU and Cache are internal parts of the processor and should be tested together, but disk and graphics card stability tests can perform separately to check for health.
To check the performance of the power supply, you can also select all the selectable components in the stability test together to request the maximum power required from the power supply. Simultaneous operation of these components can receive the highest amount of energy required for the operation of components from the power supply.
- AIDA64 Monitor Diagnostics: In this section, various options can be selected to calibrate the display characteristics, test different colors, and patterns, and it is a suitable option for performing technical and calculated checks when buying a new or used monitor. By testing the colors, you can quickly detect the presence or absence of burned pixels in the panel or observe the uniformity of the backlight.
- Heaven Benchmark: A Unigine tool that can challenge the power of your graphics card by running heavy real-time graphics with different settings and resolutions. It also has a Benchmark mode to compare points with other graphics cards and different systems. However, our goal in recommending this tool is to push the graphics card, which if there is a hardware defect in the graphics card or a weak power supply, the implementation of the benchmark will probably be accompanied by visual defects and graphics display or locked Hardware will display a blue screen of death (BSOD) or a random restart of the system.
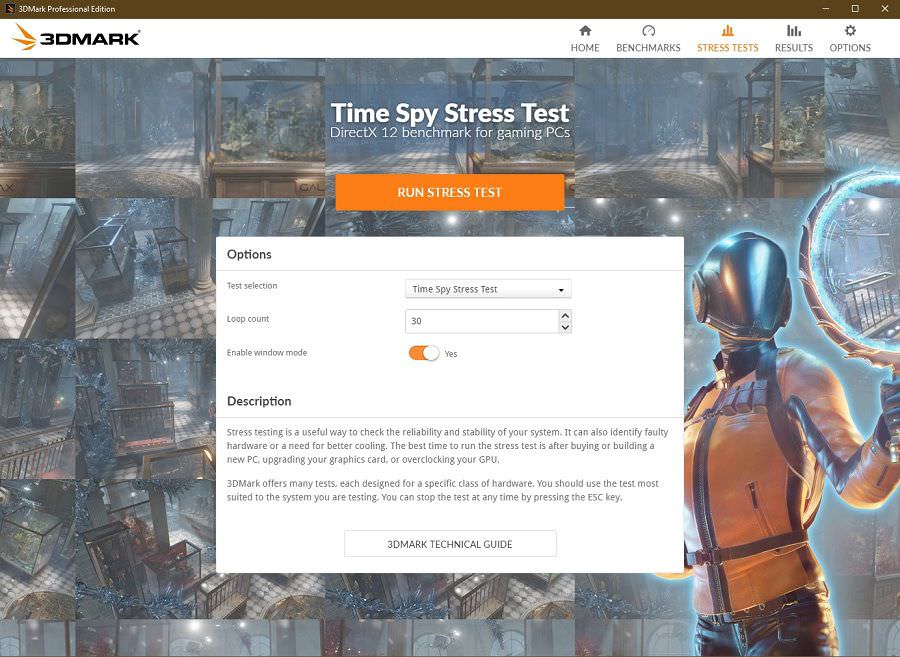

- 3DMark: Although this software is better known for measuring the ability to run games, its use of the capacity and power of other system resources such as CPU and Power Supply can also test all system components’ stability. It also has a section called Stress Tests, some free and some for paid versions. The number of performances of this test can be increased by repeating it for 30 minutes or an hour, thus measuring the system’s stability.


- Hard Disk Sentinel is one of the tools that has become famous for having the best capabilities in examining and solving the problems of hard disks. Display general information of HDD and SSD, Self-Test scans, and of course, surface and advanced scan of the drive (Surface Test) are also among the main features of this program. It is strongly recommended to use this tool to check the life and performance of the HDD or SSD as the first option.
Conclusion
The methods described above were only part of the tried and tested methods used to check and diagnose the health of used parts, which can not necessarily violate some similar methods or software to ensure the performance of parts. Some more powerful software requires a higher level of technical information to run and conclude, and it is not recommended to use them indiscriminately and unknowingly. At the same time, there is no control over the operating signs of the system and thermal sensors and even for systems. Weaker may produce damage.
Many of the above points are actually used to troubleshoot parts. Still, the physical and functional inspection scenarios may differ for a little older and make separately. For example, using and testing memory modules on a motherboard that has not been used before is different from identical modules that have been installed and used in a PC for a long time, because in the first case, we are not even sure of the basic compatibility of the modules with the motherboard. Boot and scan through the motherboard BIOS at the beginning of the test. Still, the memory installed in the system and has been working without problems for a long time certainly can not have problem compatibility with the motherboard.
What methods and software have you used or suggested to buy and review used computer parts? Could you share your comments with us?