


How To Clear Your Clipboard History In Windows 10
In Windows 10, When You Copy Something And Then Paste It, That File Still Remains On Your Computer’s Clipboard.
For this reason, in this article, we have gone to the tutorial on clearing the history of the clipboard in Windows 10.
What is the meaning of clipboard history?
A clipboard is a place to temporarily store files that you copy and paste. Of course, in older versions of Windows, you could only keep one output on your computer’s clipboard. With the release of the October 2018 Windows 10 update, users were able to hold multiple items on the clipboard and paste them multiple times.
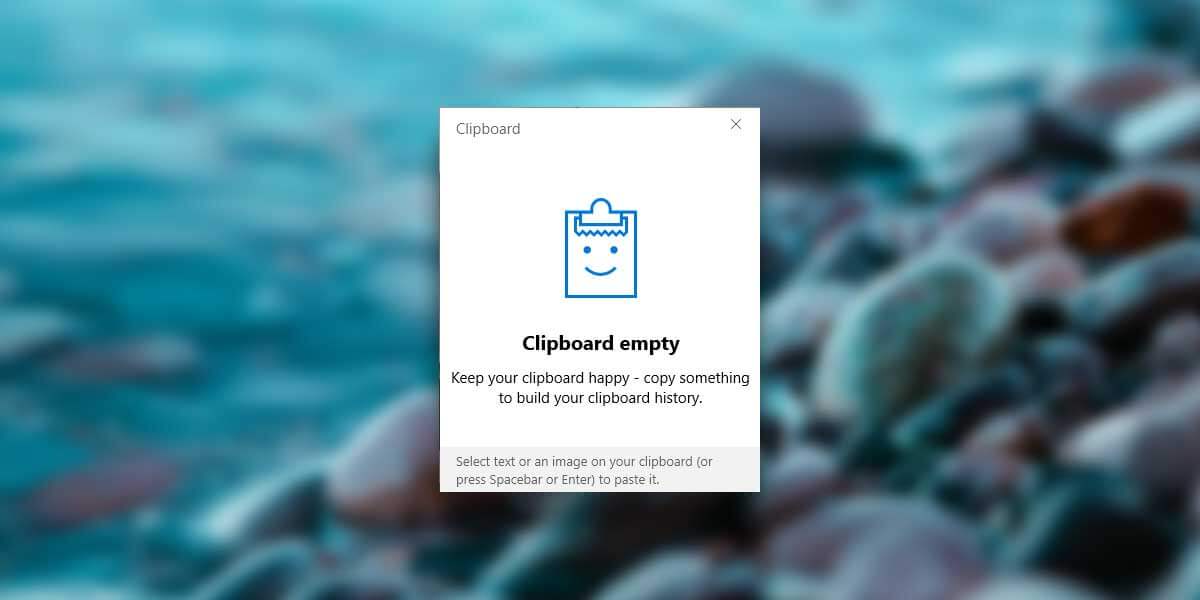
If you press the “Win + V” keys in an application environment and you see the following image, then you can say that your clipboard history is not active and only stores one item. To activate this feature, you must click on the “Turn on” button.

Why do we need to clear the clipboard history?
Clipboard history has many advantages, but it can also take up a bit of RAM (up to 4 MB). You may also store important information in the clipboard and not want someone else to access it (especially personal information or passwords).
How to clear all or part of the clipboard history in Windows 10
1. Add a blank item to the clipboard history
This method does not clear the entire history of the clipboard, but only people who do not have access to your last patched item.
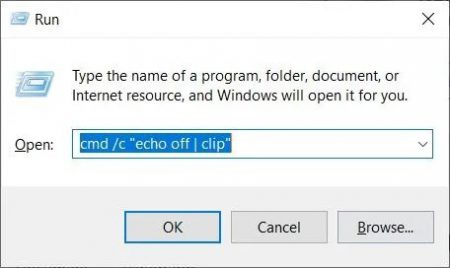
- Press the “Win + R” keys to open the “Run” window.
- Phrase “cmd / c” echo off | Type the clip (with only one quotation mark).
- Click “OK”.
2. Clear the entire clipboard history
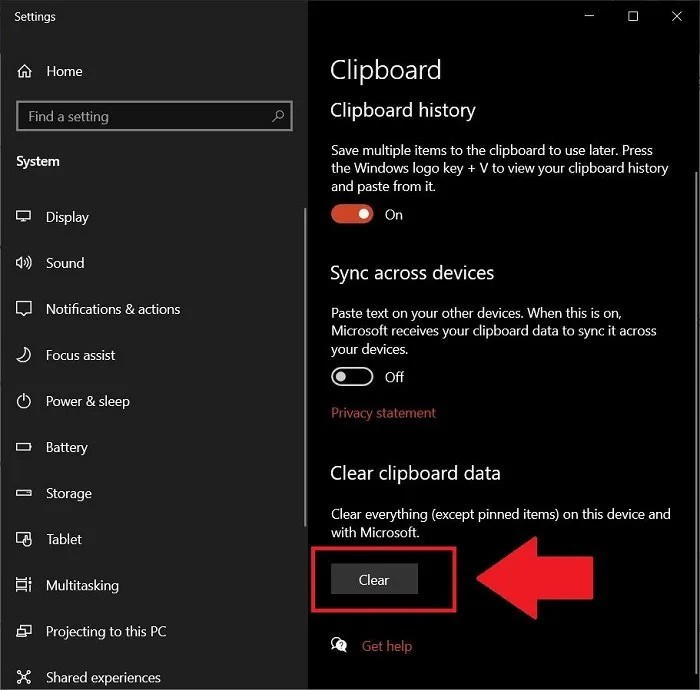
- Go to the Start menu and then search for Clipboard.
- Click on the “Clipboard settings” icon.
- Scroll down and under the “Clear clipboard data” section, click the “Clear” button.
3. Clear certain items
- Press “Win + V” keys. Click on the three-dot symbol in the upper right corner of your item.
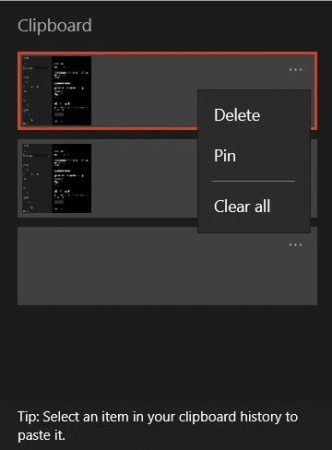
- Select “Delete”.
- In the same panel, by clicking on the “Clear all” option, you can delete the entire history.
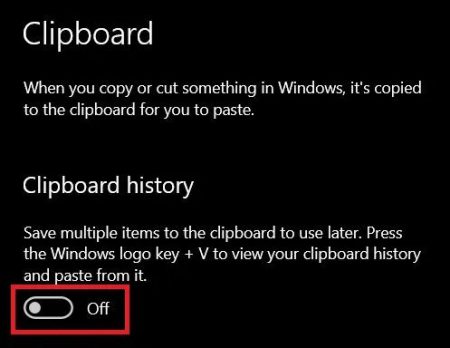
If you think you do not need this feature much, then you can go to the “Clipboard history” section and then set the key to “Off”.
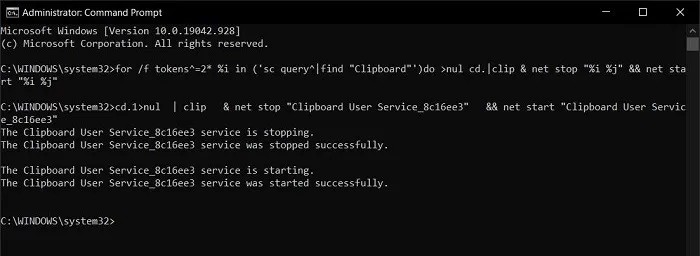
4. Use Command Prompt
This will stop your clipboard and then restart, eventually erasing all of its histories.
- Go to the Start menu and then search for Command Prompt.
- Then run the Command Prompt as Run as Administrator.
- Enter the following command:
5. Use PowerShell
- Go to the Start menu and then search for “PowerShell”.
- Then run PowerShell as Run as Administrator.
- Copy and paste the following command:
![]()
Your Windows 10 clipboard history will now be cleared.
6. Create a text menu on the desktop
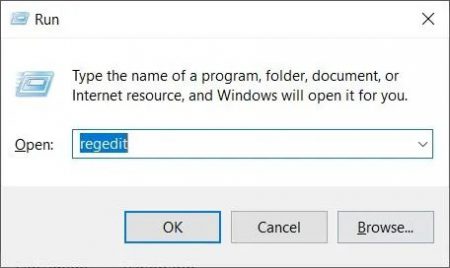
- Open the “Run” window by pressing “Win + R”.
- Type “Regedit” and then press “Enter”.
- Go to the following address:
Of course, you can also paste the above address into the Registry Editor address bar.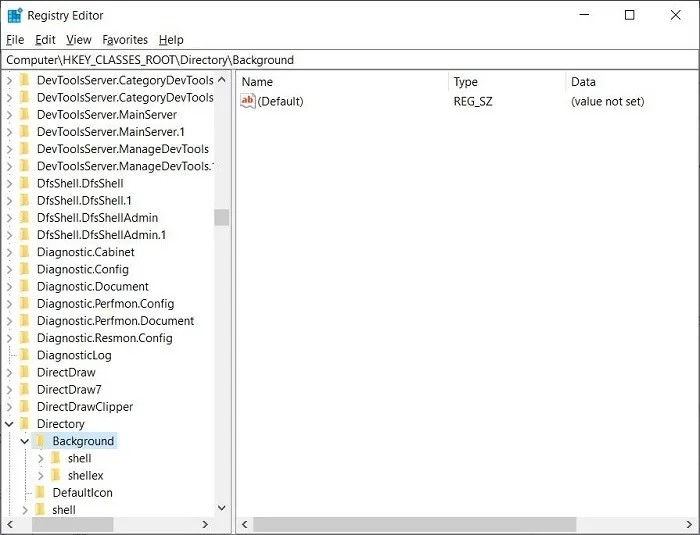
4. On the left side and under the “Background” folder, right-click on the “shell” folder and then select “New -> Key”.
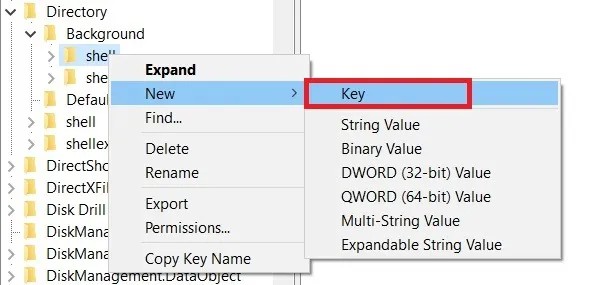
5. Enter “Clear clipboard” as the name.![]()
6. Right-click on the new Clear clipboard folder and then go to “New -> Key”.
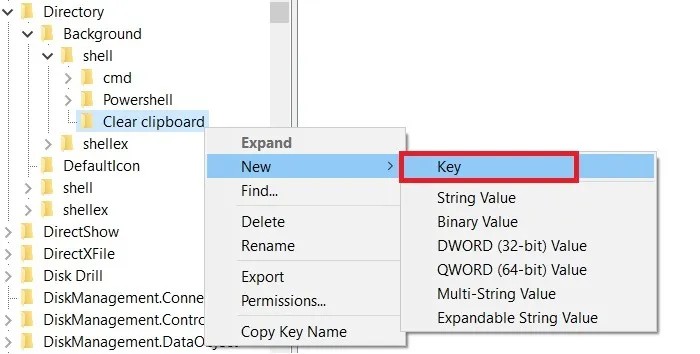
7. Name the generated key “Command”.
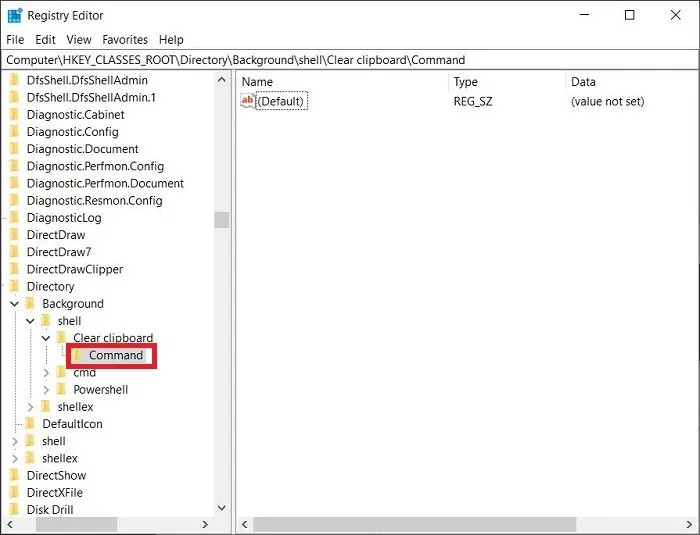
8. Select the Command key on the left and then click on “Default” on the right. Under “Value Data”, type the following command:
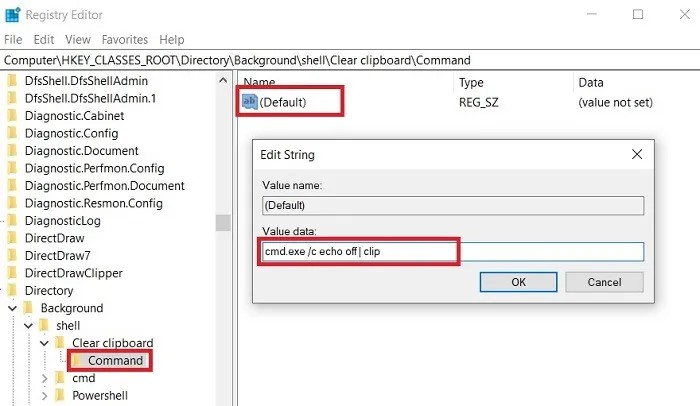
9. Click “OK” and then close the Registry Editor.
Now to clear the history of your Windows clipboard, just right-click on the desktop and then select “Clear clipboard”.
![]()