


Learn how to create, add, use and change the color of brushes in Photoshop
This post discusses a step-by-step tutorial on how to build a brush, add a new set to Photoshop brush defaults, and use them, as well as a few techniques for maintaining organized and secure storage.
Video tutorial on working with brushes in Photoshop
Watch the following video before starting the article:
If you did not learn how to work with Photoshop brushes through the video above, read the rest of the article:
Learn how to add a new brush set to Photoshop
Step 1
Photoshop allows us to save as many brushes as we like. But the more brushes there are, the slower Photoshop becomes because each brush takes up less memory and it will be harder to find the brush you are looking for. Suppose we have downloaded a series of brushes ready for Photoshop and want to add them to Photoshop.

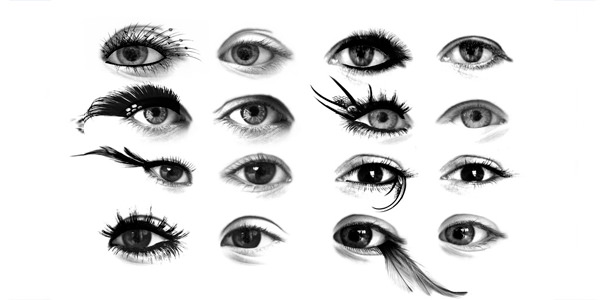
Photoshop Brushes Panel
Step 2
I go to the brushes folder I downloaded: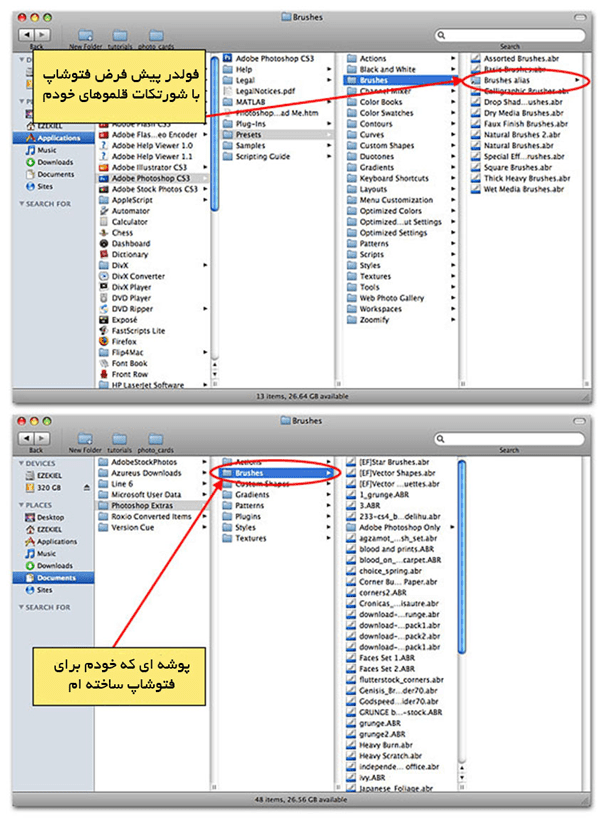
Step 3
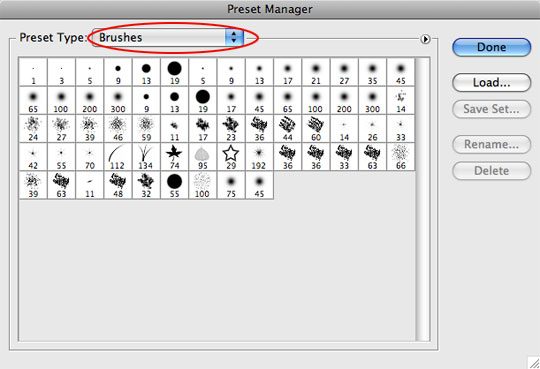
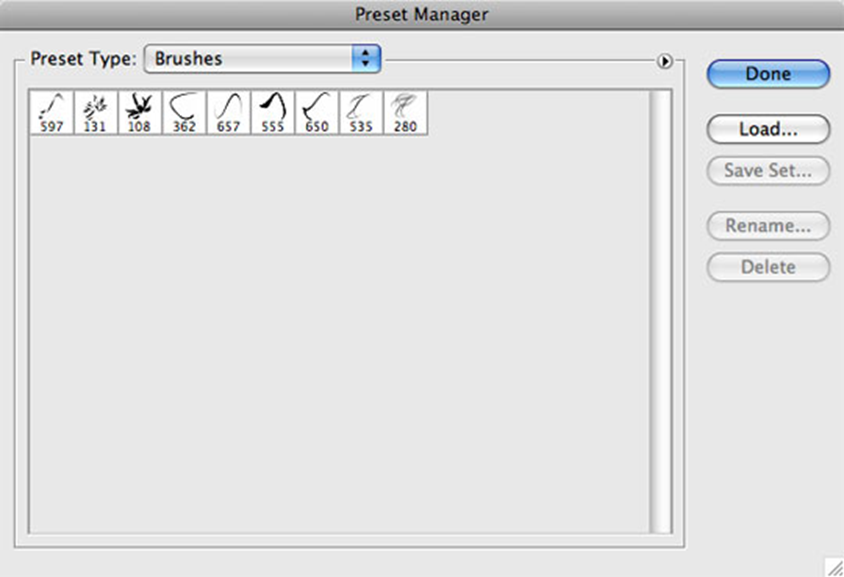
Now select Preset from the Edit menu and then Preset manager . And select the brush in the drop-down menu at the top of the page.
Step 4
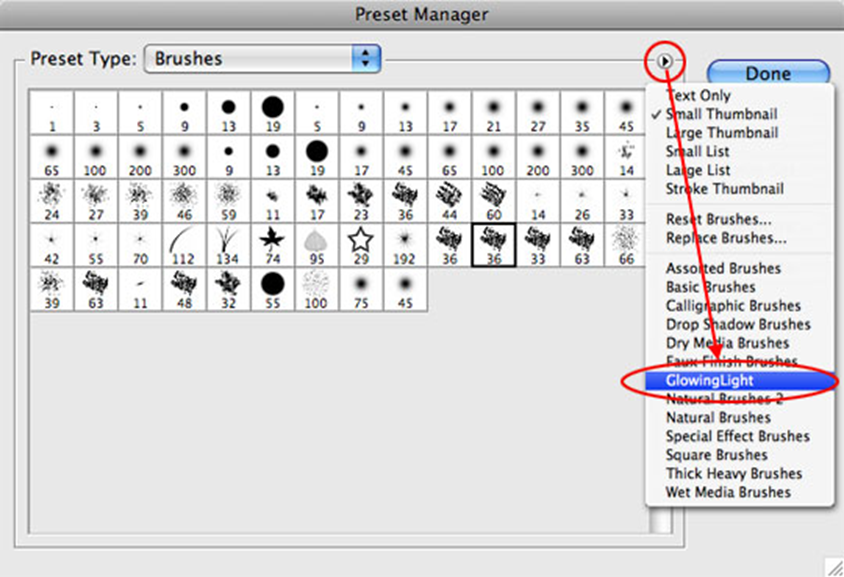
Inside the default manager shows a small circle with an arrow inside it at the top right of the screen and opens the menu if you click on it with your mouse. In the example below you can see that brush my glowing light is on the list. Photoshop gives you two options to add this new brush to your existing fonts or replace existing ones. Click or OK to add them. For example, I just clicked OK to replace the existing brushes with the new set.
Step 5
You can now see that these brushes have been selected in my preset section with the new set. In the text on the right while inside the default admin area you can click the brushes and drag them again to customize.
How to make a brush in Photoshop
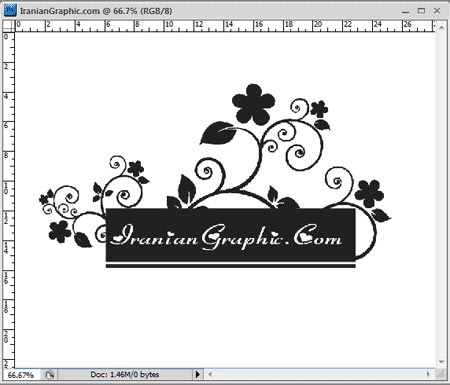
It does not matter what color your design is (if you choose a light color, your brush will be a light gray and if you choose a dark color, your brush will be closer to black) but the size you draw your design is very important. It can be made from that design and stored in the same size, and the other point is to try not to let your design go out of the frame to maintain the beauty of the brush you make.
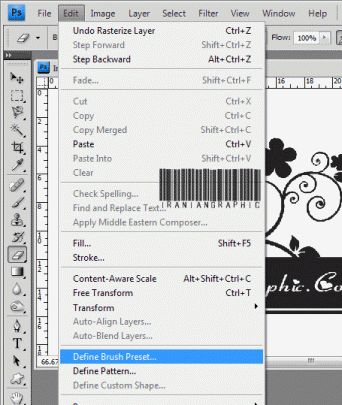
Now select the Define Brush Preset option from the edit menu .
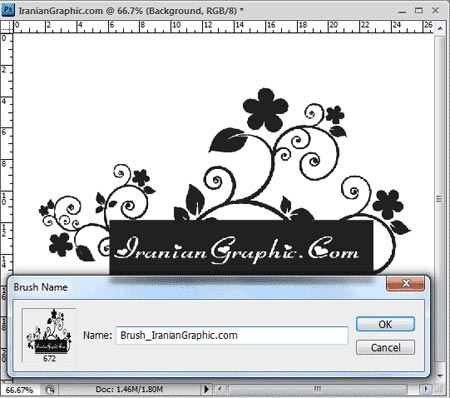
Now it asks us for the name of this brush, after entering this name , we click OK .
How to use Photoshop brushes
All you have to do is press the B button on your keyboard and then right-click on the image, all the brushes will appear. You can change the size of the brushes.
To change the color of a brush
There are several ways to do this. But if you are a beginner in Photoshop, use this method: Press the W button and click on the brush to select your brush. Then press shift + f5 (Shift and F5) at the same time. Select the color you want and click OK . it is finished!